> ## Documentation Index
> Fetch the complete documentation index at: https://docs.rntor.com/docs/llms.txt
> Use this file to discover all available pages before exploring further.
# Set up companies
Administrators can create an unlimited number of companies, either one at a time or several at once.
## Create a company
1. Go to the **Customers** page.
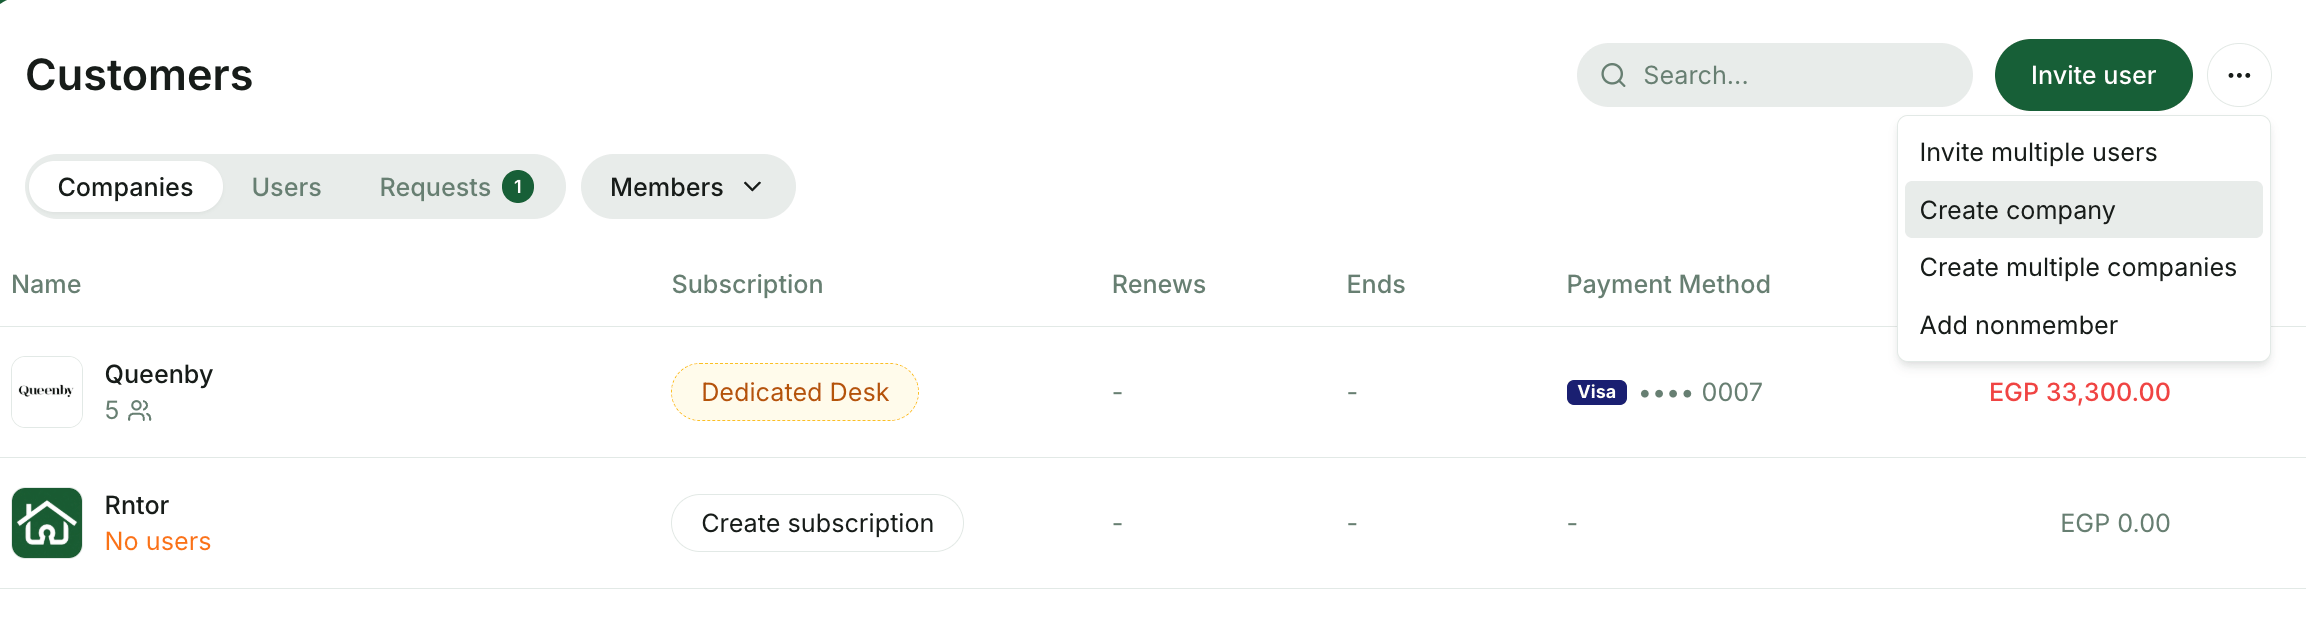
2. Press the menu (**…**) top right, and select `Create company`.
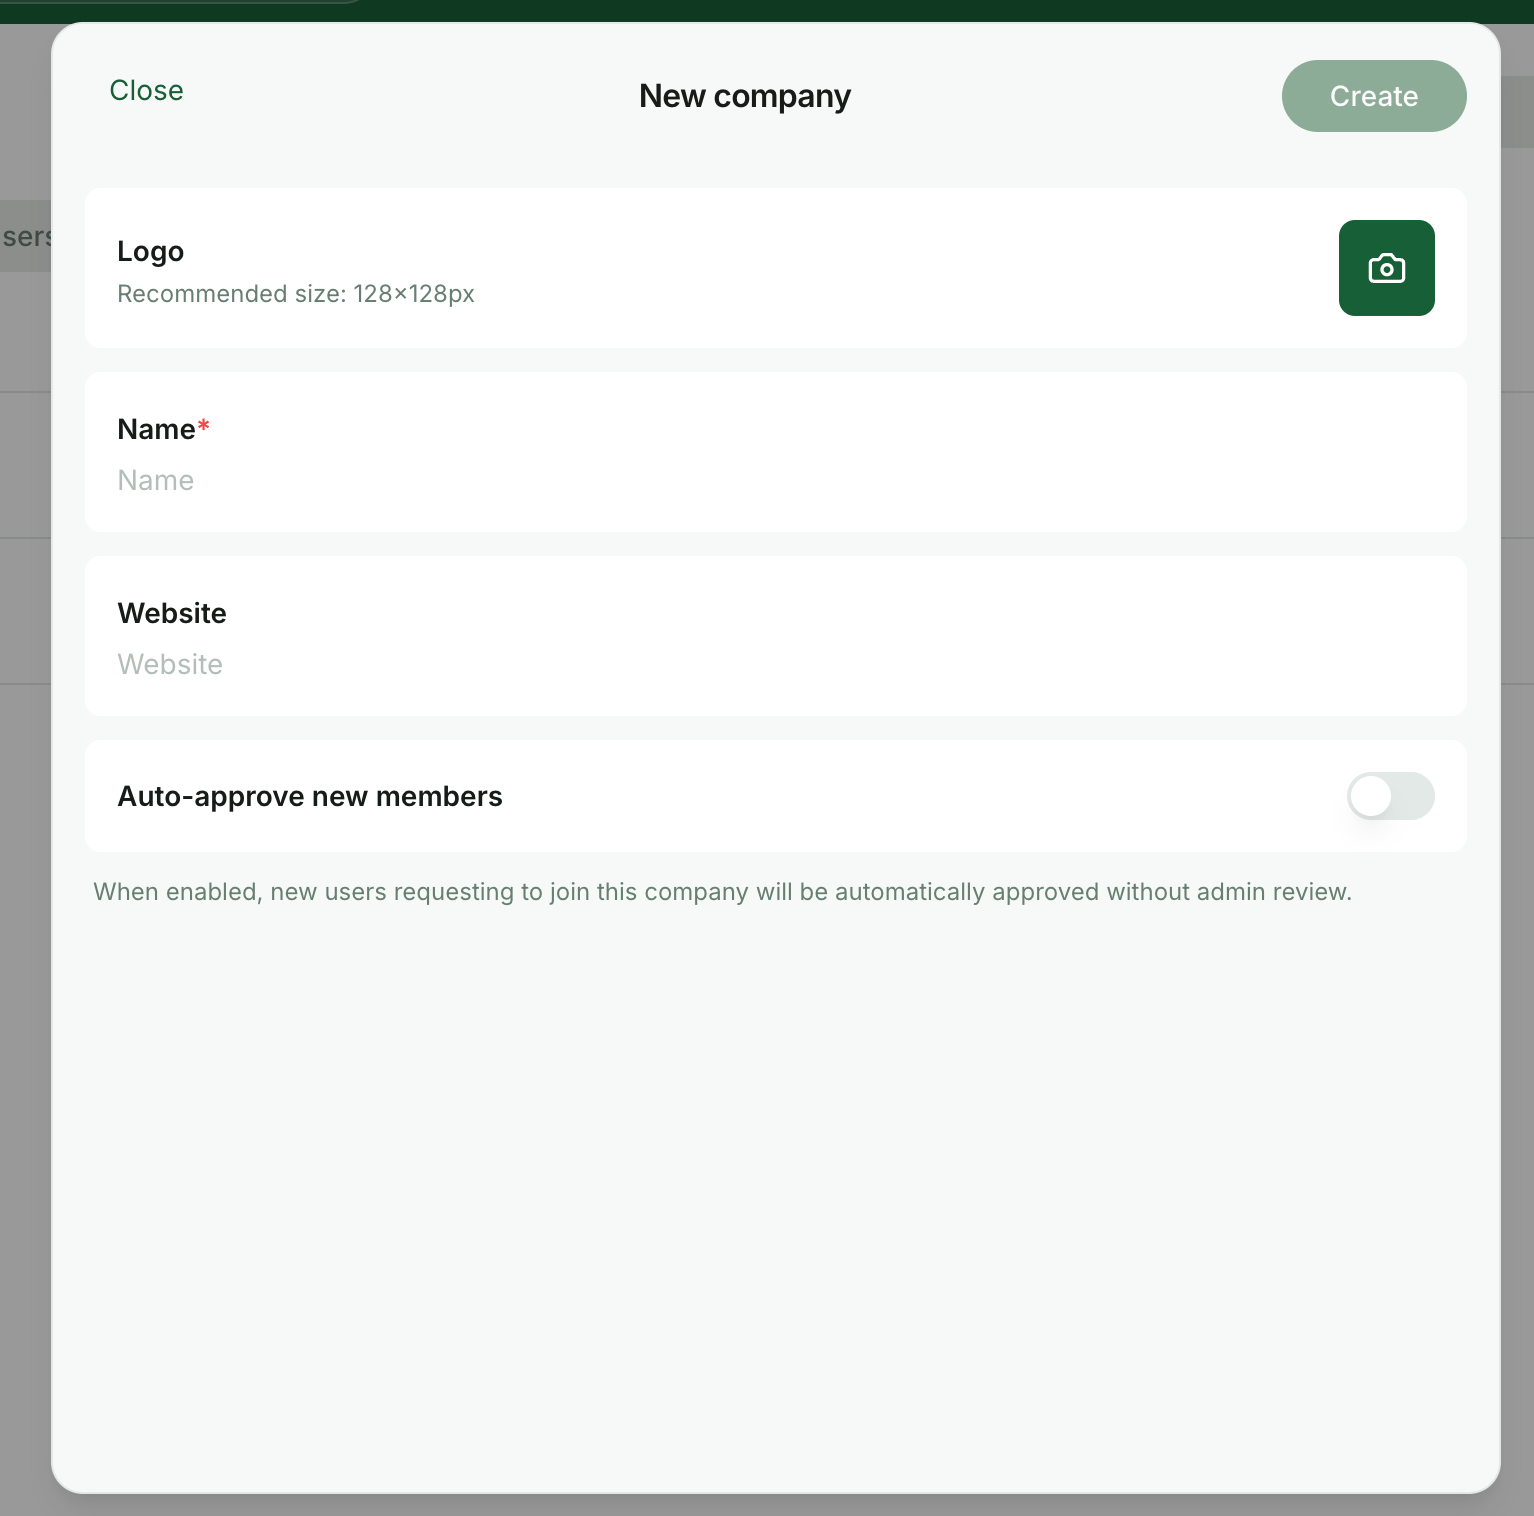
 3. Type the company name and manage the **Auto-approve new members** switch:
* **Enable** to automatically approve new company members invited by company managers.
* **Disable** to [manage all invitation requests](/docs/admin/customer-management/users/requests-to-join) by yourself, giving you greater control over who becomes a member.
4. Optionally, upload a company logo or add their website.
* If you add a website, the logo will pre-fill automatically, but you can still manually upload a logo if necessary.
3. Type the company name and manage the **Auto-approve new members** switch:
* **Enable** to automatically approve new company members invited by company managers.
* **Disable** to [manage all invitation requests](/docs/admin/customer-management/users/requests-to-join) by yourself, giving you greater control over who becomes a member.
4. Optionally, upload a company logo or add their website.
* If you add a website, the logo will pre-fill automatically, but you can still manually upload a logo if necessary.
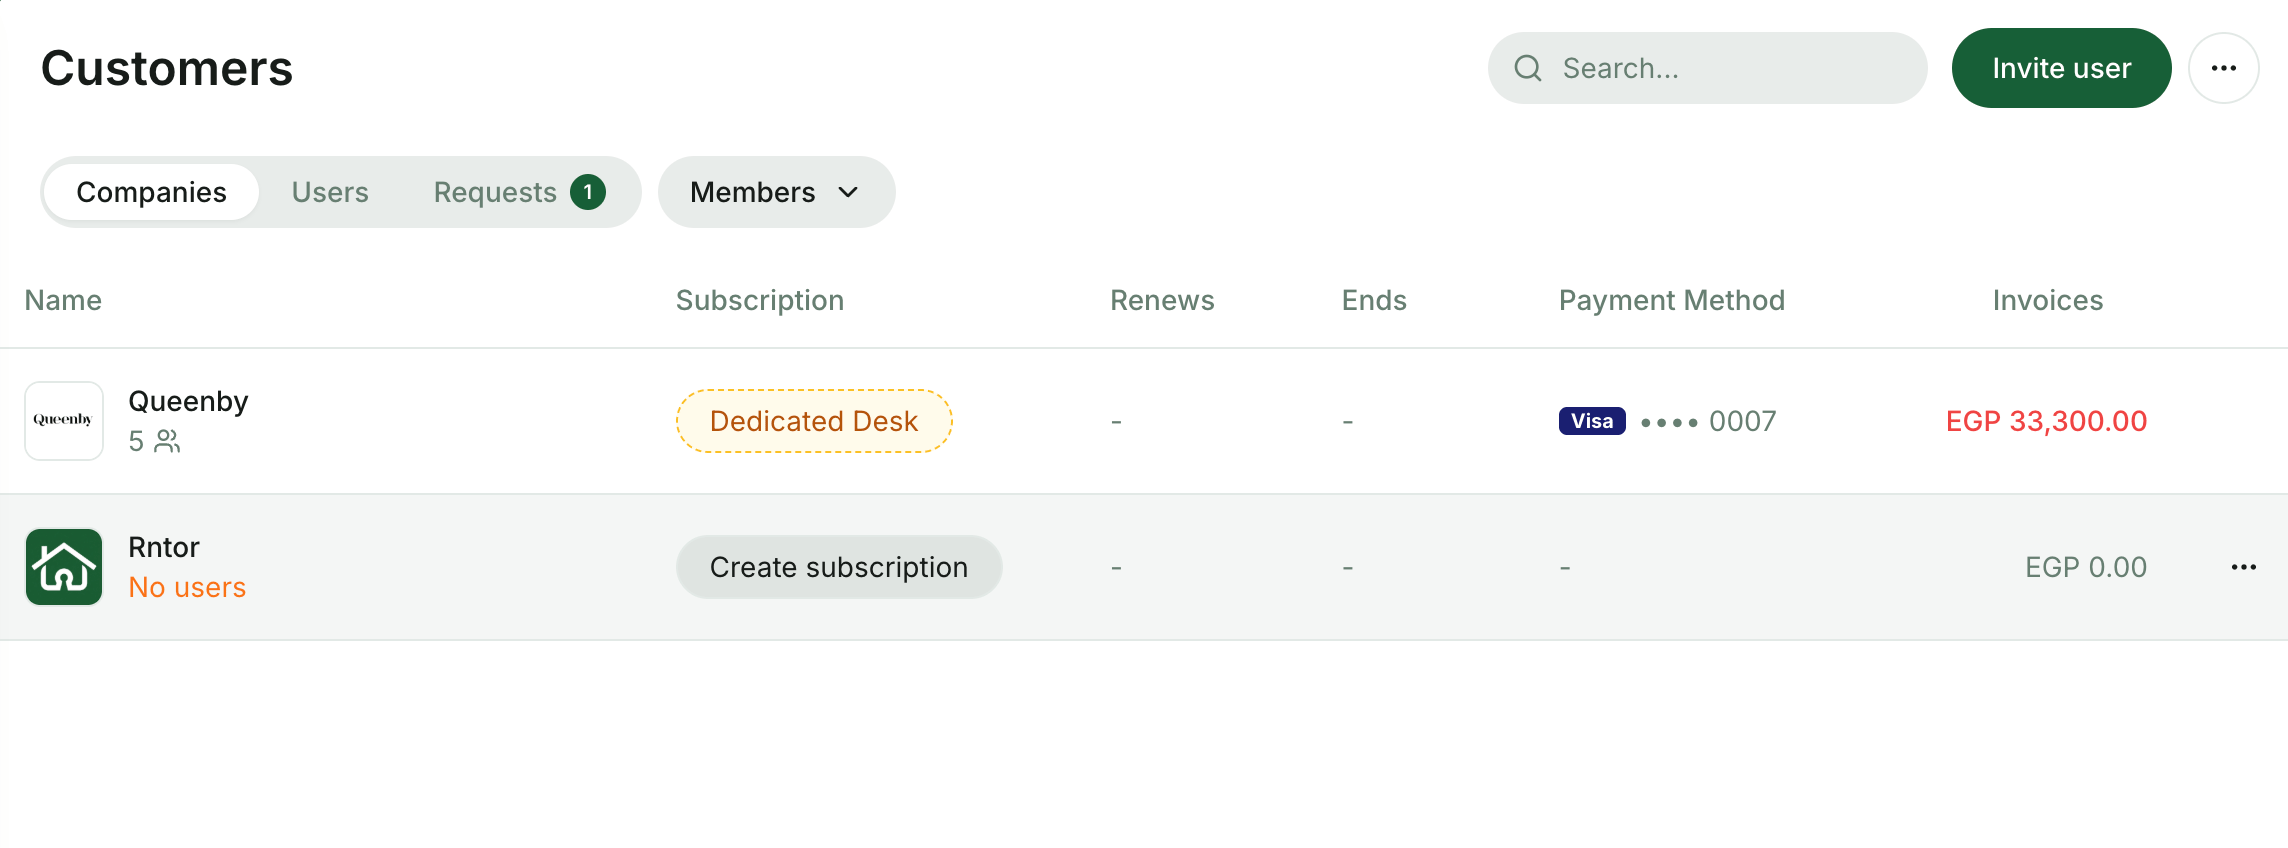
 5. Press `Create`. The company's creation date will always appear on its profile in the **Activities** section.
6. Press `Create subscription` to [create a subscription for the company](/docs/admin/billing/subscriptions/set-up-subscriptions).
5. Press `Create`. The company's creation date will always appear on its profile in the **Activities** section.
6. Press `Create subscription` to [create a subscription for the company](/docs/admin/billing/subscriptions/set-up-subscriptions).
 ## Create multiple companies
Before creating multiple companies at once, prepare a spreadsheet with the following columns:
| Column name | Required |
| --------------------------------------------------- | -------- |
| Name | ✓ |
| Plan ID (if the company should have a subscription) | |
To find the plan ID, log in to RNTOR → go to **Billing** → **Plans** → press (…) and select "Copy public link". The last part of the URL contains the plan ID. If your plan has the ["Sign-up" option disabled,](/docs/admin/billing/plans/set-up-plans) temporarily enable it to copy the link and then disable it.
To create multiple companies, do the following:
1. Go to the **Customers** page.
2. Press the menu (**…**) top right → click `Create multiple companies`.
## Create multiple companies
Before creating multiple companies at once, prepare a spreadsheet with the following columns:
| Column name | Required |
| --------------------------------------------------- | -------- |
| Name | ✓ |
| Plan ID (if the company should have a subscription) | |
To find the plan ID, log in to RNTOR → go to **Billing** → **Plans** → press (…) and select "Copy public link". The last part of the URL contains the plan ID. If your plan has the ["Sign-up" option disabled,](/docs/admin/billing/plans/set-up-plans) temporarily enable it to copy the link and then disable it.
To create multiple companies, do the following:
1. Go to the **Customers** page.
2. Press the menu (**…**) top right → click `Create multiple companies`.
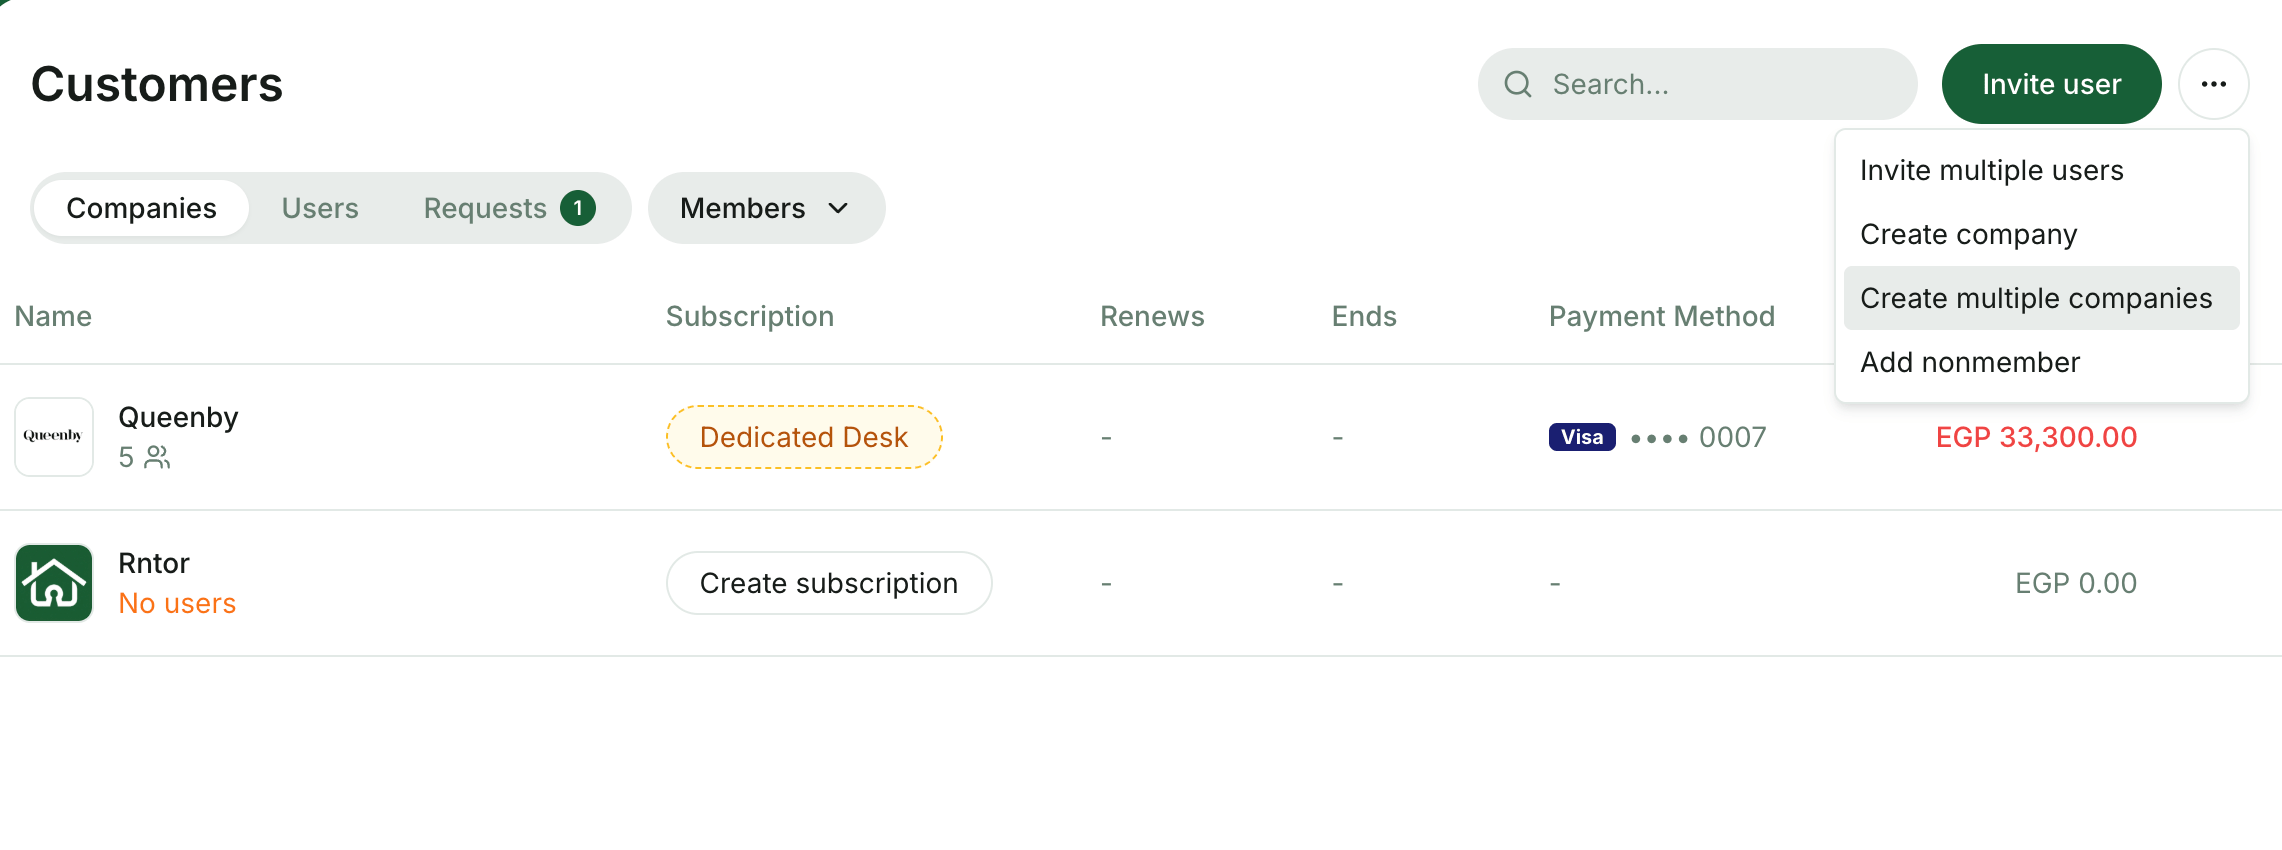 3. Copy the information from your spreadsheet and paste it into the mass invitation window.
4. Press `Create companies`.
## Add company members and managers
Companies consist of [**company members**](/docs/admin/customer-management/companies/company-members-and-managers) and [**company managers**](/docs/admin/customer-management/companies/company-members-and-managers).
### As an administrator
1. Open the company profile.
2. On the right-hand panel:
* Click `Add` if you've already invited users.
* Click `Invite` button to invite a new user.
* Click `Mass invite` to invite multiple users and auto-assign them to this company.
3. Copy the information from your spreadsheet and paste it into the mass invitation window.
4. Press `Create companies`.
## Add company members and managers
Companies consist of [**company members**](/docs/admin/customer-management/companies/company-members-and-managers) and [**company managers**](/docs/admin/customer-management/companies/company-members-and-managers).
### As an administrator
1. Open the company profile.
2. On the right-hand panel:
* Click `Add` if you've already invited users.
* Click `Invite` button to invite a new user.
* Click `Mass invite` to invite multiple users and auto-assign them to this company.
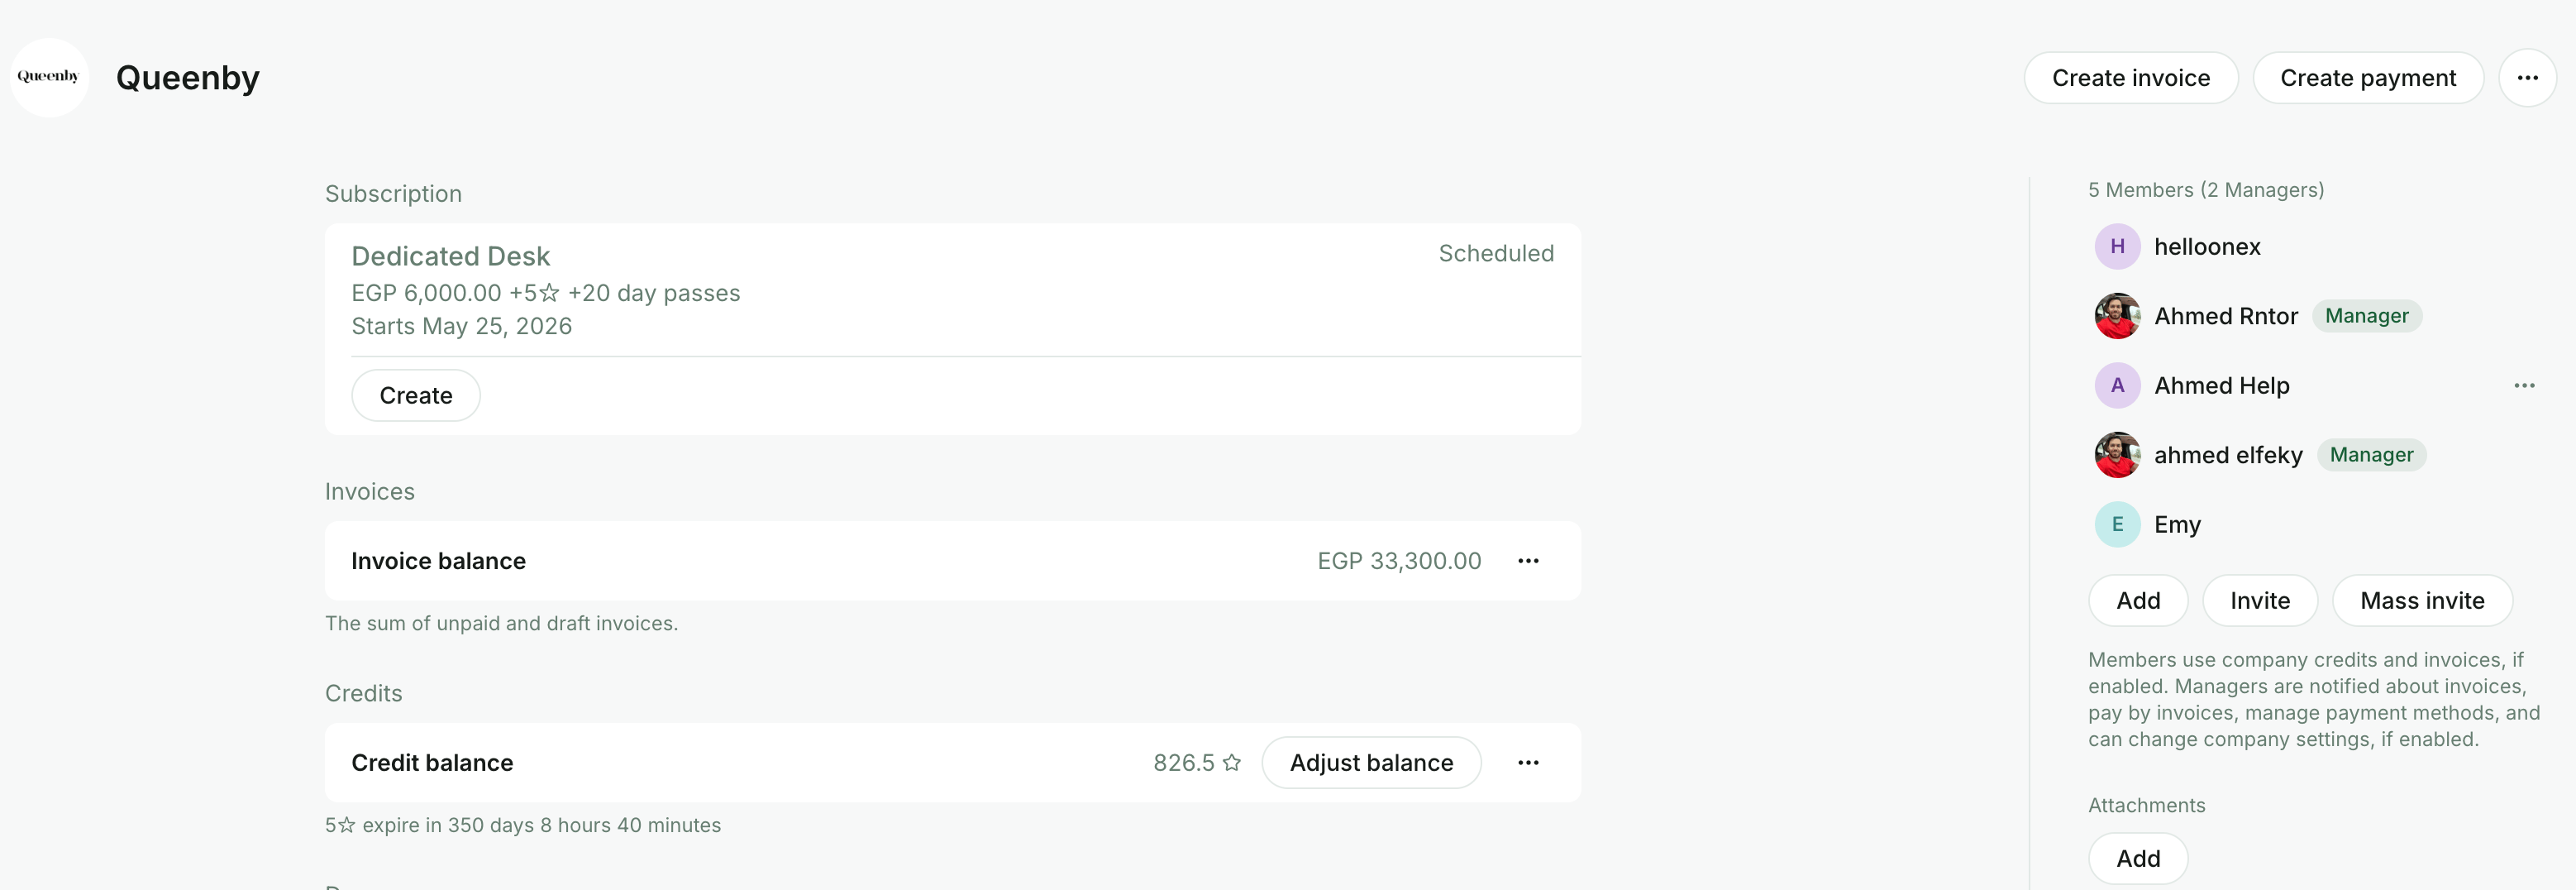 3. To assign managers, click (**…**) → `Make manager` next to the necessary user in the company.
Only administrators can assign and remove company managers.
### As a company member
1. Users go to the **Membership** → **Members** page under their company name.
2. Press `Invite user` and enter their name and email.
3. Once the invitation is sent, the approval process depends on the company's settings:
* Administrators will receive the request on the **Customers** page → **Requests** tab. After an administrator [approves the request](/docs/admin/customer-management/users/requests-to-join), the new user will be added to the company.
* If an administrator has [enabled the "Auto-approve new members"](/docs/admin/customer-management/companies/set-up-companies) setting for your company, the new user will be approved and added to the company automatically.
Company members can only invite new users who haven't been invited to your location yet.
Users can be added to only one company in each location.
## Remove company members
### As an administrator
1. Open the company profile.
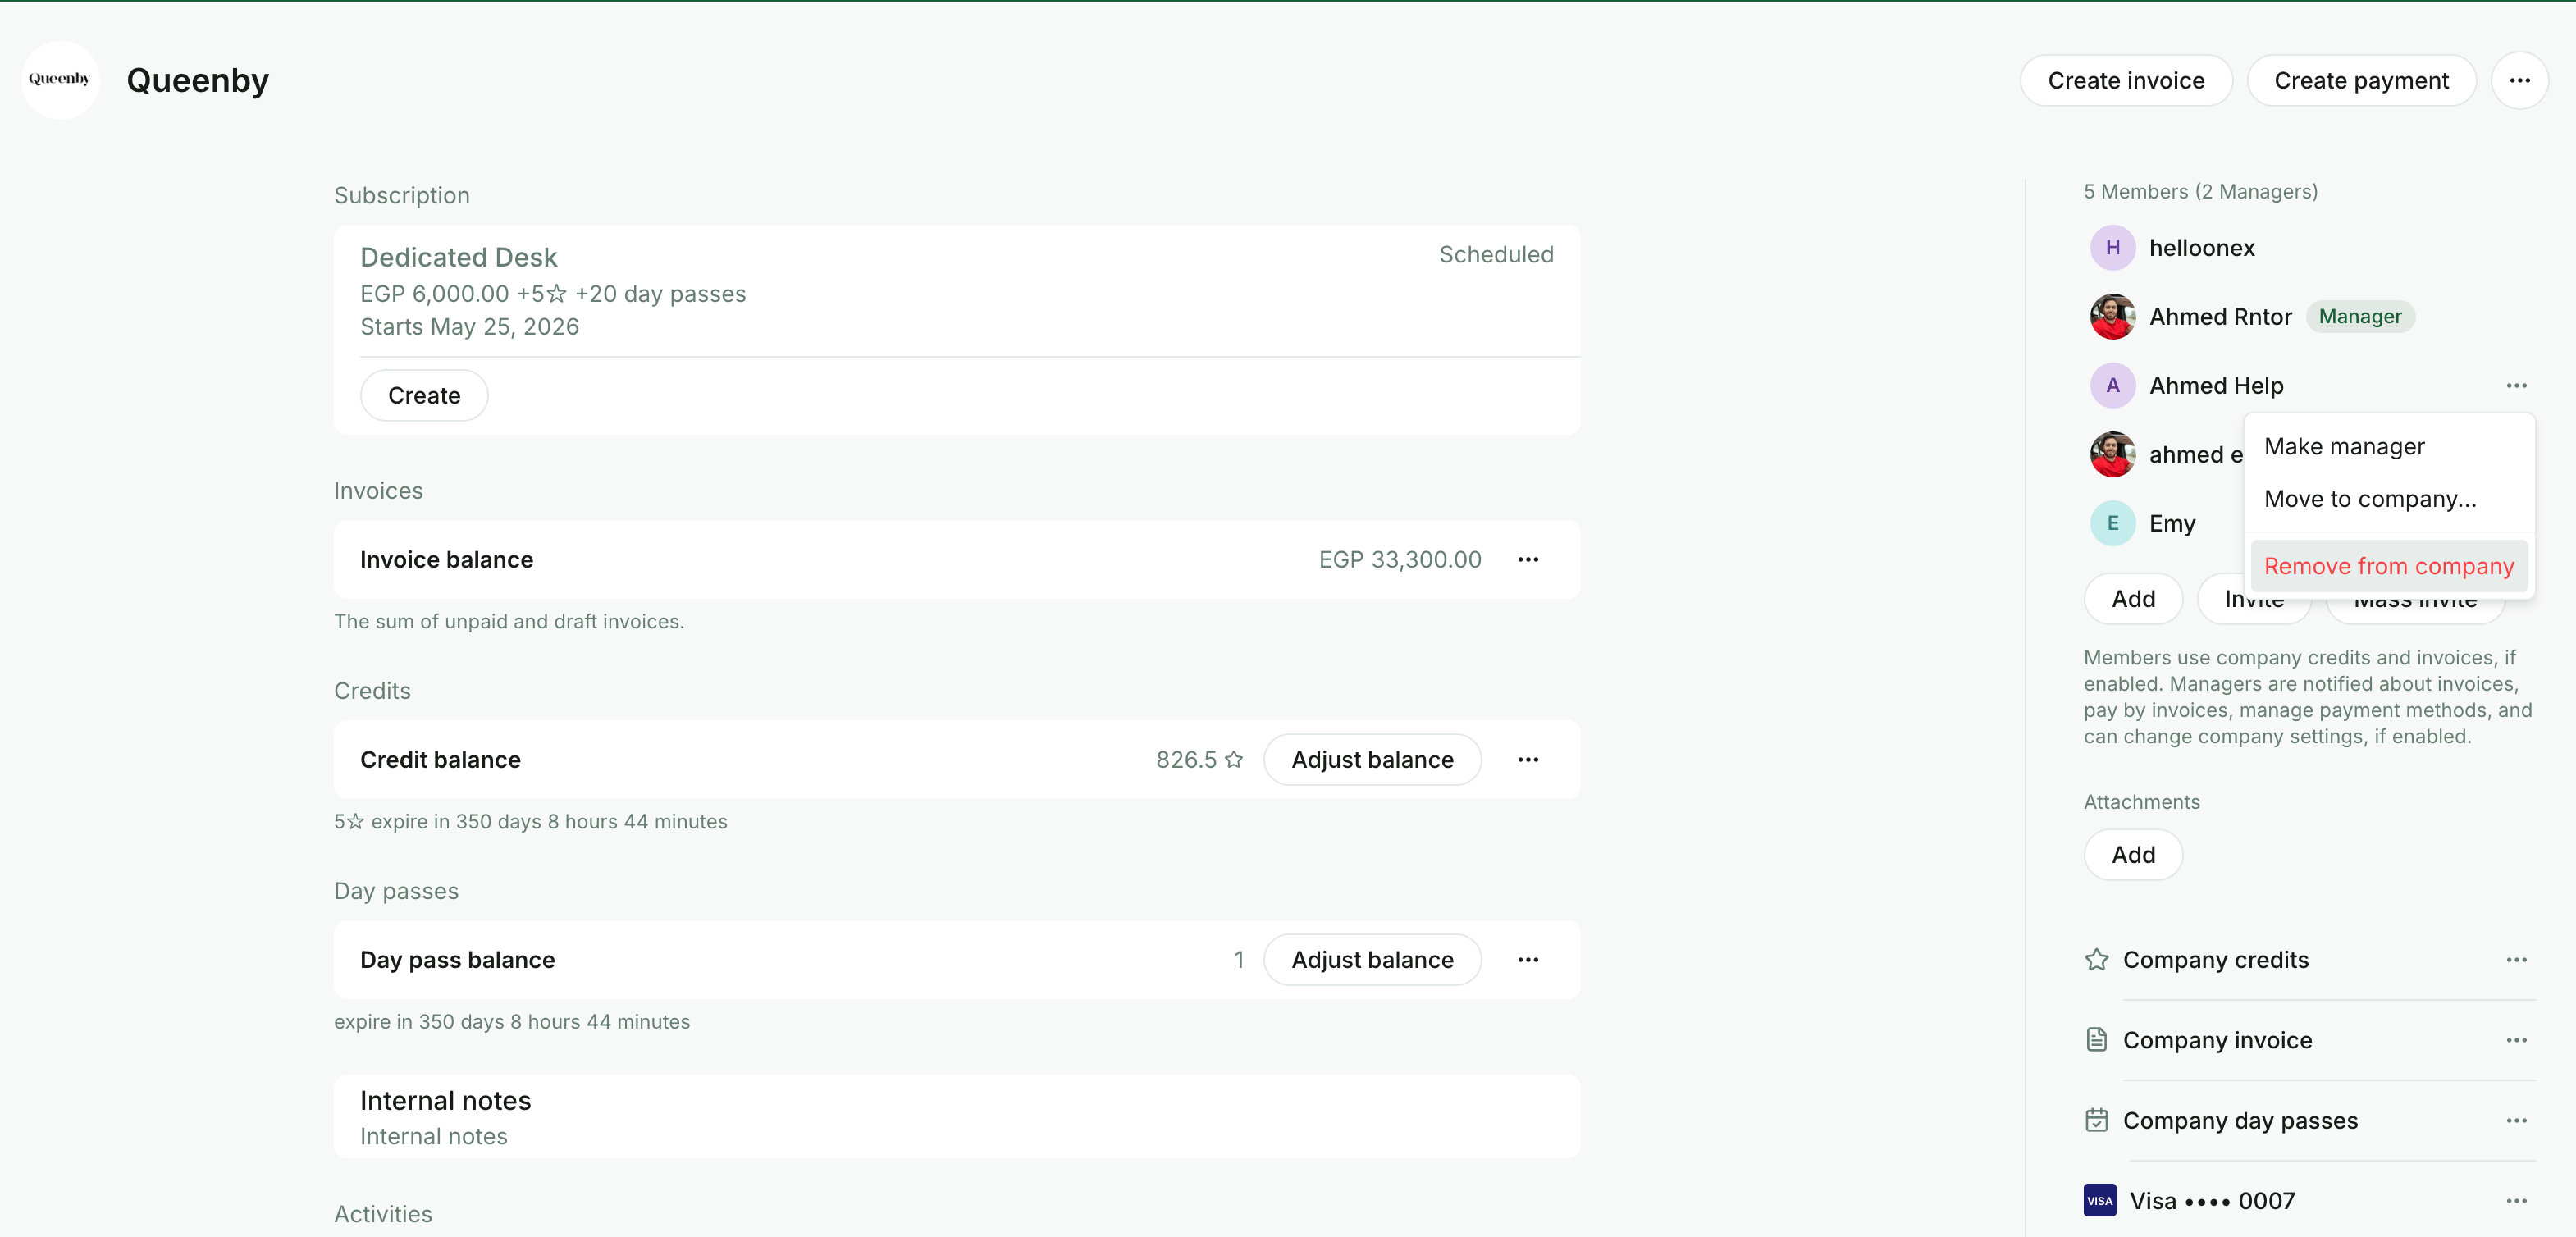
2. Click (**…**) → `Remove` next to the necessary user in the company.
* For company managers, you can choose `Make member` to remove their manager role or `Remove` to remove them from the company completely.
3. To assign managers, click (**…**) → `Make manager` next to the necessary user in the company.
Only administrators can assign and remove company managers.
### As a company member
1. Users go to the **Membership** → **Members** page under their company name.
2. Press `Invite user` and enter their name and email.
3. Once the invitation is sent, the approval process depends on the company's settings:
* Administrators will receive the request on the **Customers** page → **Requests** tab. After an administrator [approves the request](/docs/admin/customer-management/users/requests-to-join), the new user will be added to the company.
* If an administrator has [enabled the "Auto-approve new members"](/docs/admin/customer-management/companies/set-up-companies) setting for your company, the new user will be approved and added to the company automatically.
Company members can only invite new users who haven't been invited to your location yet.
Users can be added to only one company in each location.
## Remove company members
### As an administrator
1. Open the company profile.
2. Click (**…**) → `Remove` next to the necessary user in the company.
* For company managers, you can choose `Make member` to remove their manager role or `Remove` to remove them from the company completely.
 ### As a company member
1. Users go to the **Membership** → **Members** page under their company name.
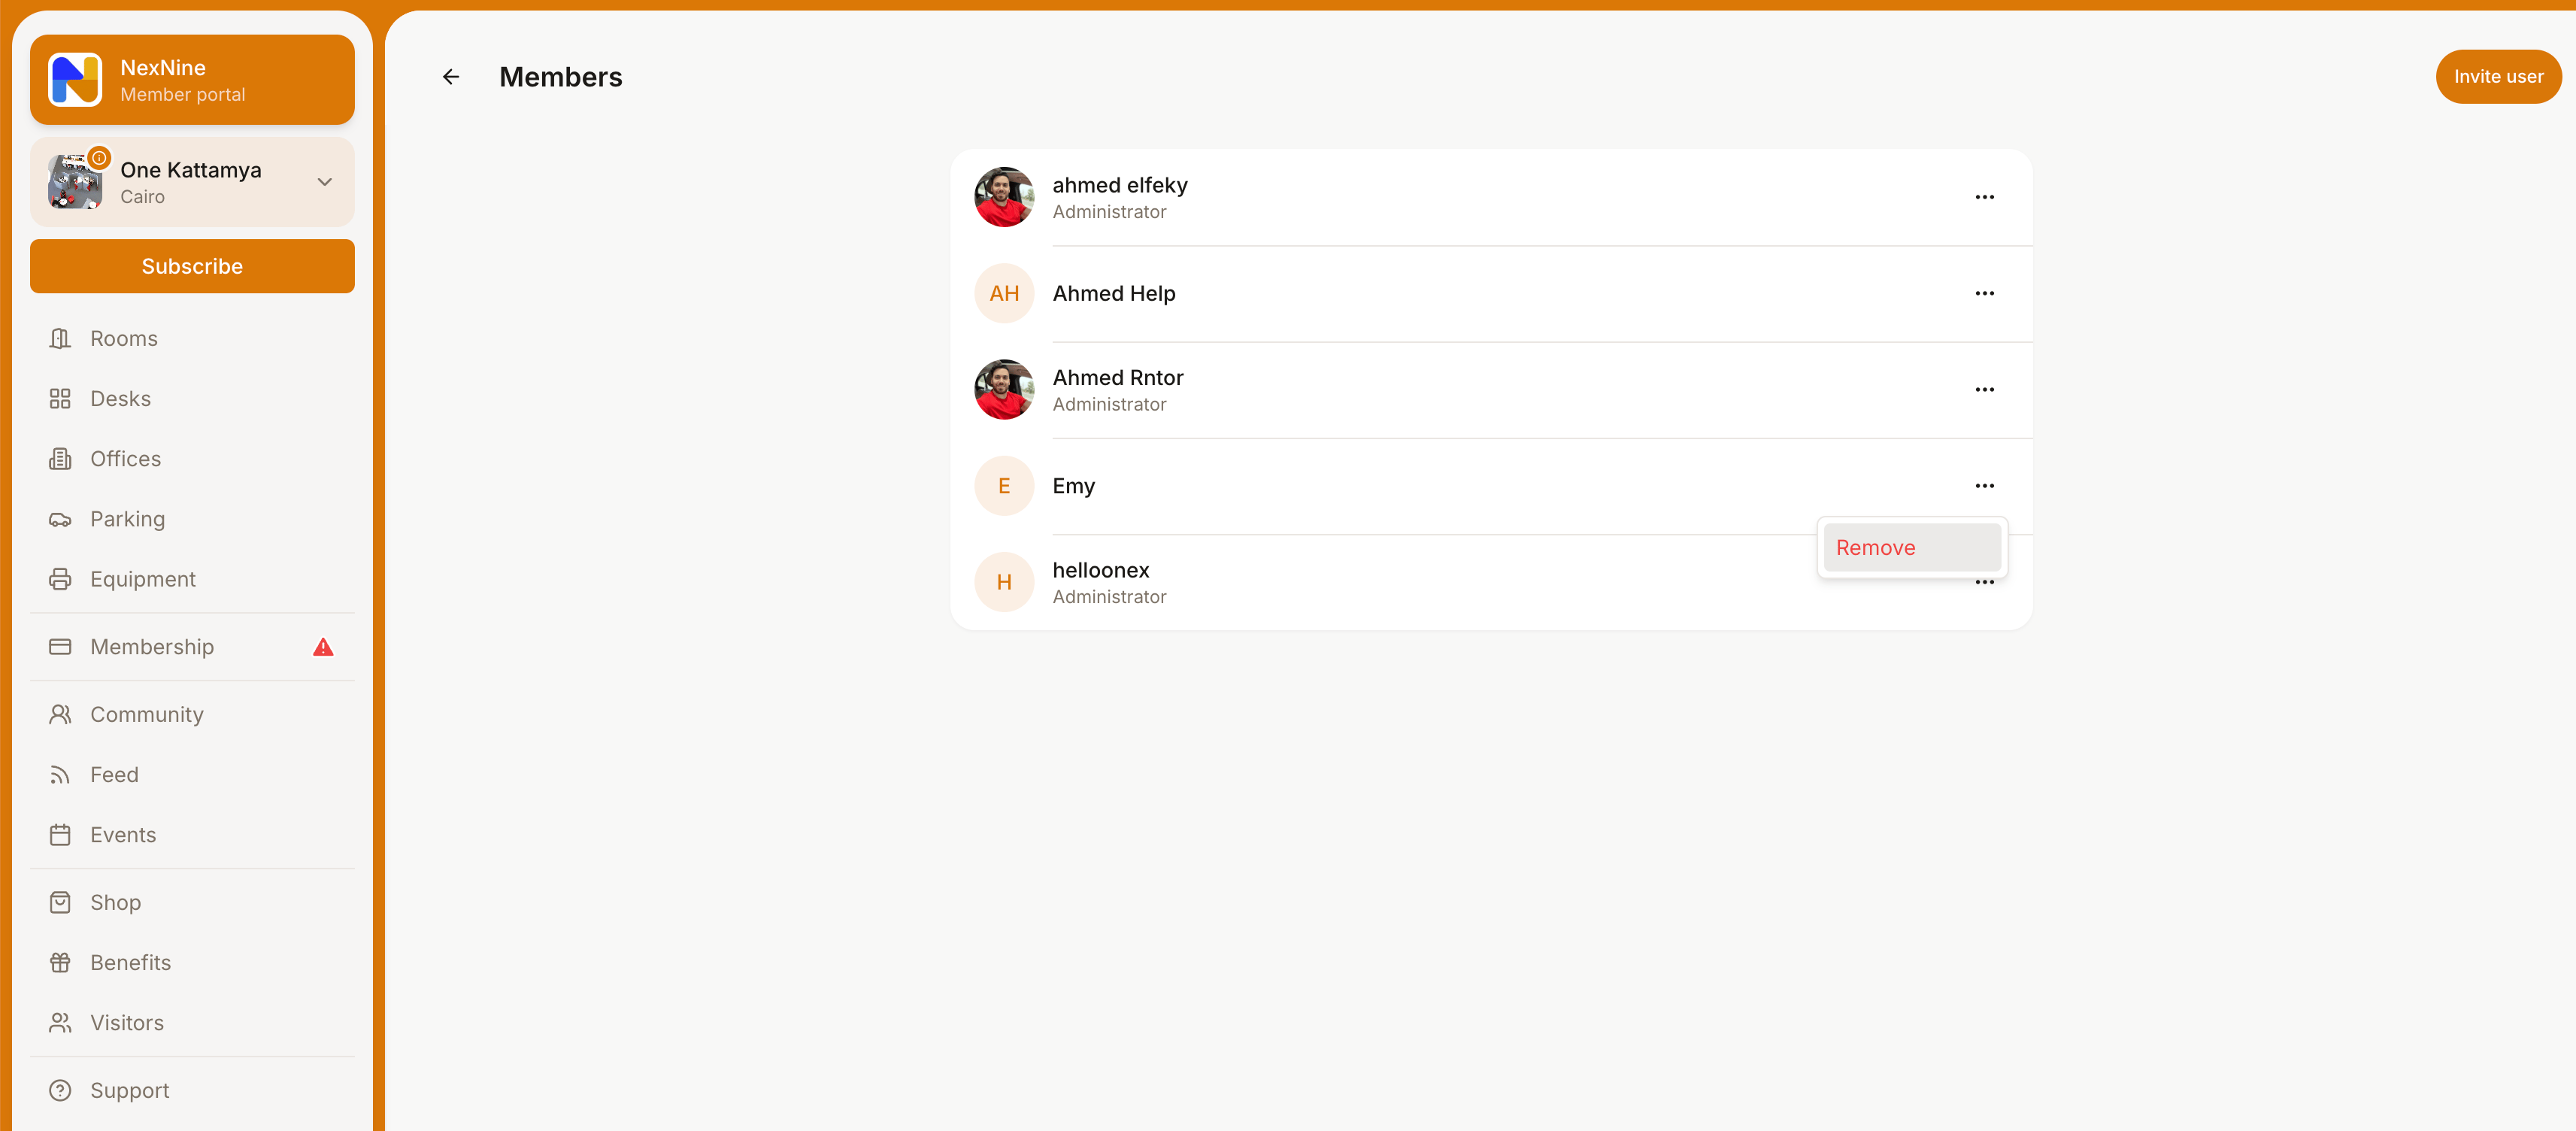
2. Click (**…**) → `Remove` next to the necessary user in the company.
### As a company member
1. Users go to the **Membership** → **Members** page under their company name.
2. Click (**…**) → `Remove` next to the necessary user in the company.
 ## Manage a company
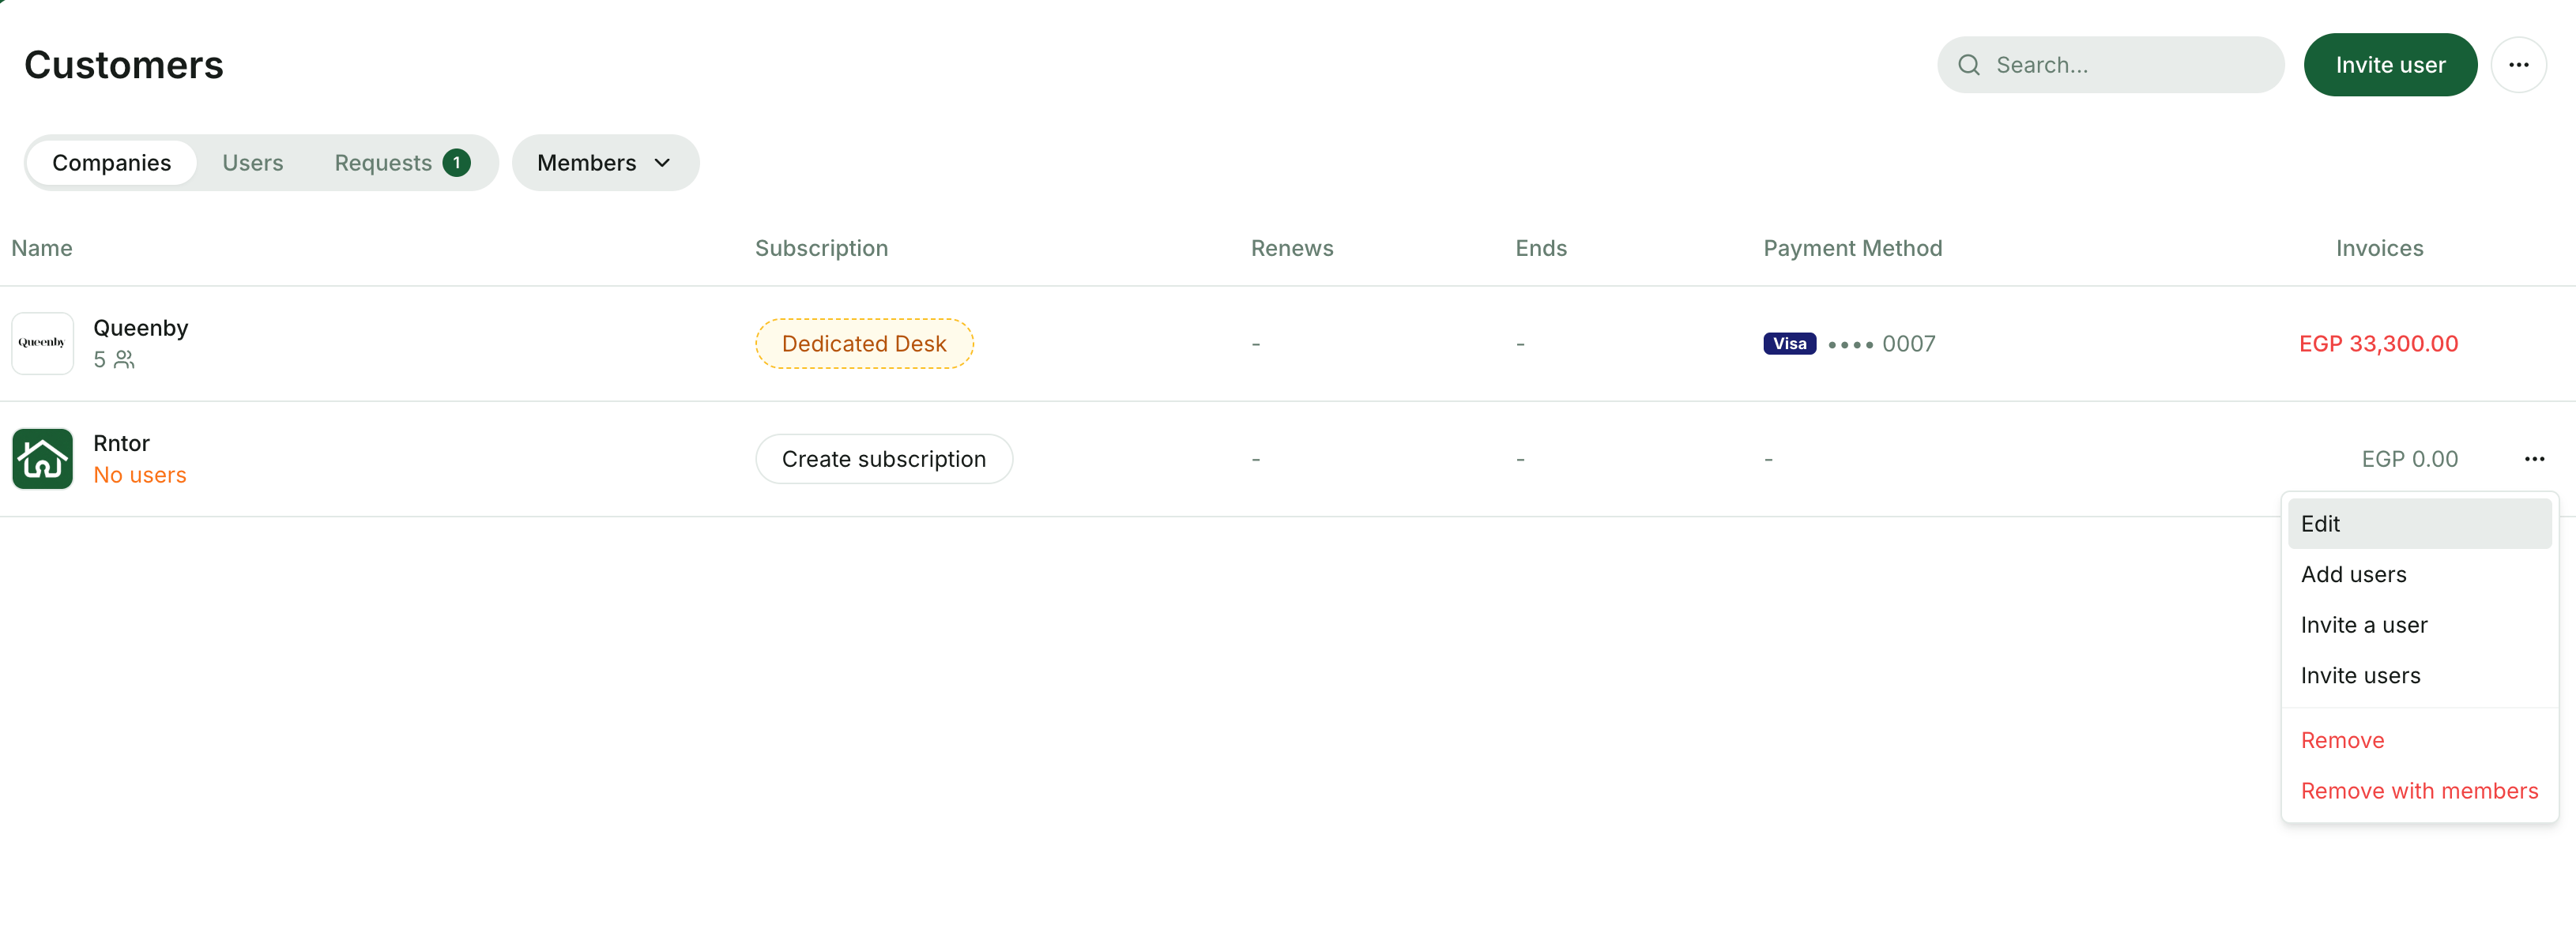
From the **Customers** page, you can manage any company. Click the (**…**) menu next to the company's name and select the necessary option.
* Press `Edit` to change the company name or manage the "Auto-approve new members" setting.
* Press other options to manage the company and its members.
## Manage a company
From the **Customers** page, you can manage any company. Click the (**…**) menu next to the company's name and select the necessary option.
* Press `Edit` to change the company name or manage the "Auto-approve new members" setting.
* Press other options to manage the company and its members.