> ## Documentation Index
> Fetch the complete documentation index at: https://docs.rntor.com/docs/llms.txt
> Use this file to discover all available pages before exploring further.
# Set up contracts
## Create, issue, and manage digital contracts to formalize customer agreements
Contracts are individual agreements between you and your customers. The **Contracts** module provides a seamless, centralized way to store and manage all customer agreements in one place.
Contracts are designed to simplify your onboarding process and ensure legal protection:
* When you need members to formally sign off on liability waivers, building rules, or regulations, such as liability for damages or general conduct.
* To require a digital signature *before* a member is allowed to proceed to payment or activate their plan, ensuring compliance precedes financial commitment.
* To attach specific, separate legal agreements to individual membership plans.
* To eliminate the administrative burden of using third-party tools by allowing administrators to create, send, track, and file contracts seamlessly within Rntor.
* To generate contracts that automatically reflect the dedicated resource being leased, such as a specific desk or office, and link the document to the customer.
## Prerequisites
To start using contracts, make sure you’ve completed the following prerequisites:
* Enable the **Contracts** switch on the **Location settings > Contracts** page.
* [Upload a contract template](/docs/admin/billing/contracts/templates).
* Create your [membership plans](/docs/admin/billing/plans/set-up-plans), [resources](/docs/admin/resource-management/resources/set-up-resources), and [one-off services](/docs/admin/service/shop/manage-one-off-services).
## Create a contract
1. Go to the **Billing > Contracts** page.
2. Press `Create contract` in the top-right corner.
 3. Fill out the contract details:
* **Customer**
* **Template**
* **Expiration date** — set the deadline for signatories to sign. If the contract is not signed by that date, it will be automatically declined.
The expiration date cannot be in the past.
* **Items** — add recurring and/or one-off services the customer will receive under this contract.
* For each item, specify the quantity, adjust the unit price if needed, or apply a coupon discount.
You can apply coupons only to recurring items in contracts.
If the customer’s contract includes at least one recurring item, configure the following:
* **Start date**
* You can create backdated contracts, too.
* **End renewal** — select **On date** to specify an end date, or choose **Never** if the contract has no specific end date.
* **Create subscription from contract**
* If enabled, the customer’s subscription will activate automatically on the selected start date after all parties sign.
* If disabled, the administrator must manually [create a subscription](/docs/admin/billing/subscriptions/set-up-subscriptions) for the customer.
When adding both recurring and one-off items, the one-off items are included only on the customer’s first subscription invoice. They are automatically removed from the subscription after the first billing period.
You can also issue renewal contracts to customers with active subscriptions.
If the customer’s contract includes only one-off items:
* **Issue invoice from contract**
* If enabled, the customer will automatically receive an invoice containing the selected items when the contract is fully signed.
* If disabled, the administrator must manually [issue the invoice](/docs/admin/billing/invoices/issue-invoices) to the customer.
* **Signatories**
* Enter the signatory’s name, email address, phone number (optional), and party: customer side or location side.
* You can add unlimited signatories on both sides.
* Drag and drop the signatories to define the order in which they should receive the contract email for signature when using eSignature.
For individual customer contracts, you can click to prefill the signatory with information from their profile.
The contract may have no location signatories, but it must have at least one customer-side signatory.
4. Press `Create`. Then review all details before issuing the contract.
## Issue a contract
1. Open the contract and select one of the following options:
* Press `Issue` to collect the contract signature manually.
* Press `Issue with eSignature` to collect the contract signature automatically.
3. Fill out the contract details:
* **Customer**
* **Template**
* **Expiration date** — set the deadline for signatories to sign. If the contract is not signed by that date, it will be automatically declined.
The expiration date cannot be in the past.
* **Items** — add recurring and/or one-off services the customer will receive under this contract.
* For each item, specify the quantity, adjust the unit price if needed, or apply a coupon discount.
You can apply coupons only to recurring items in contracts.
If the customer’s contract includes at least one recurring item, configure the following:
* **Start date**
* You can create backdated contracts, too.
* **End renewal** — select **On date** to specify an end date, or choose **Never** if the contract has no specific end date.
* **Create subscription from contract**
* If enabled, the customer’s subscription will activate automatically on the selected start date after all parties sign.
* If disabled, the administrator must manually [create a subscription](/docs/admin/billing/subscriptions/set-up-subscriptions) for the customer.
When adding both recurring and one-off items, the one-off items are included only on the customer’s first subscription invoice. They are automatically removed from the subscription after the first billing period.
You can also issue renewal contracts to customers with active subscriptions.
If the customer’s contract includes only one-off items:
* **Issue invoice from contract**
* If enabled, the customer will automatically receive an invoice containing the selected items when the contract is fully signed.
* If disabled, the administrator must manually [issue the invoice](/docs/admin/billing/invoices/issue-invoices) to the customer.
* **Signatories**
* Enter the signatory’s name, email address, phone number (optional), and party: customer side or location side.
* You can add unlimited signatories on both sides.
* Drag and drop the signatories to define the order in which they should receive the contract email for signature when using eSignature.
For individual customer contracts, you can click to prefill the signatory with information from their profile.
The contract may have no location signatories, but it must have at least one customer-side signatory.
4. Press `Create`. Then review all details before issuing the contract.
## Issue a contract
1. Open the contract and select one of the following options:
* Press `Issue` to collect the contract signature manually.
* Press `Issue with eSignature` to collect the contract signature automatically.
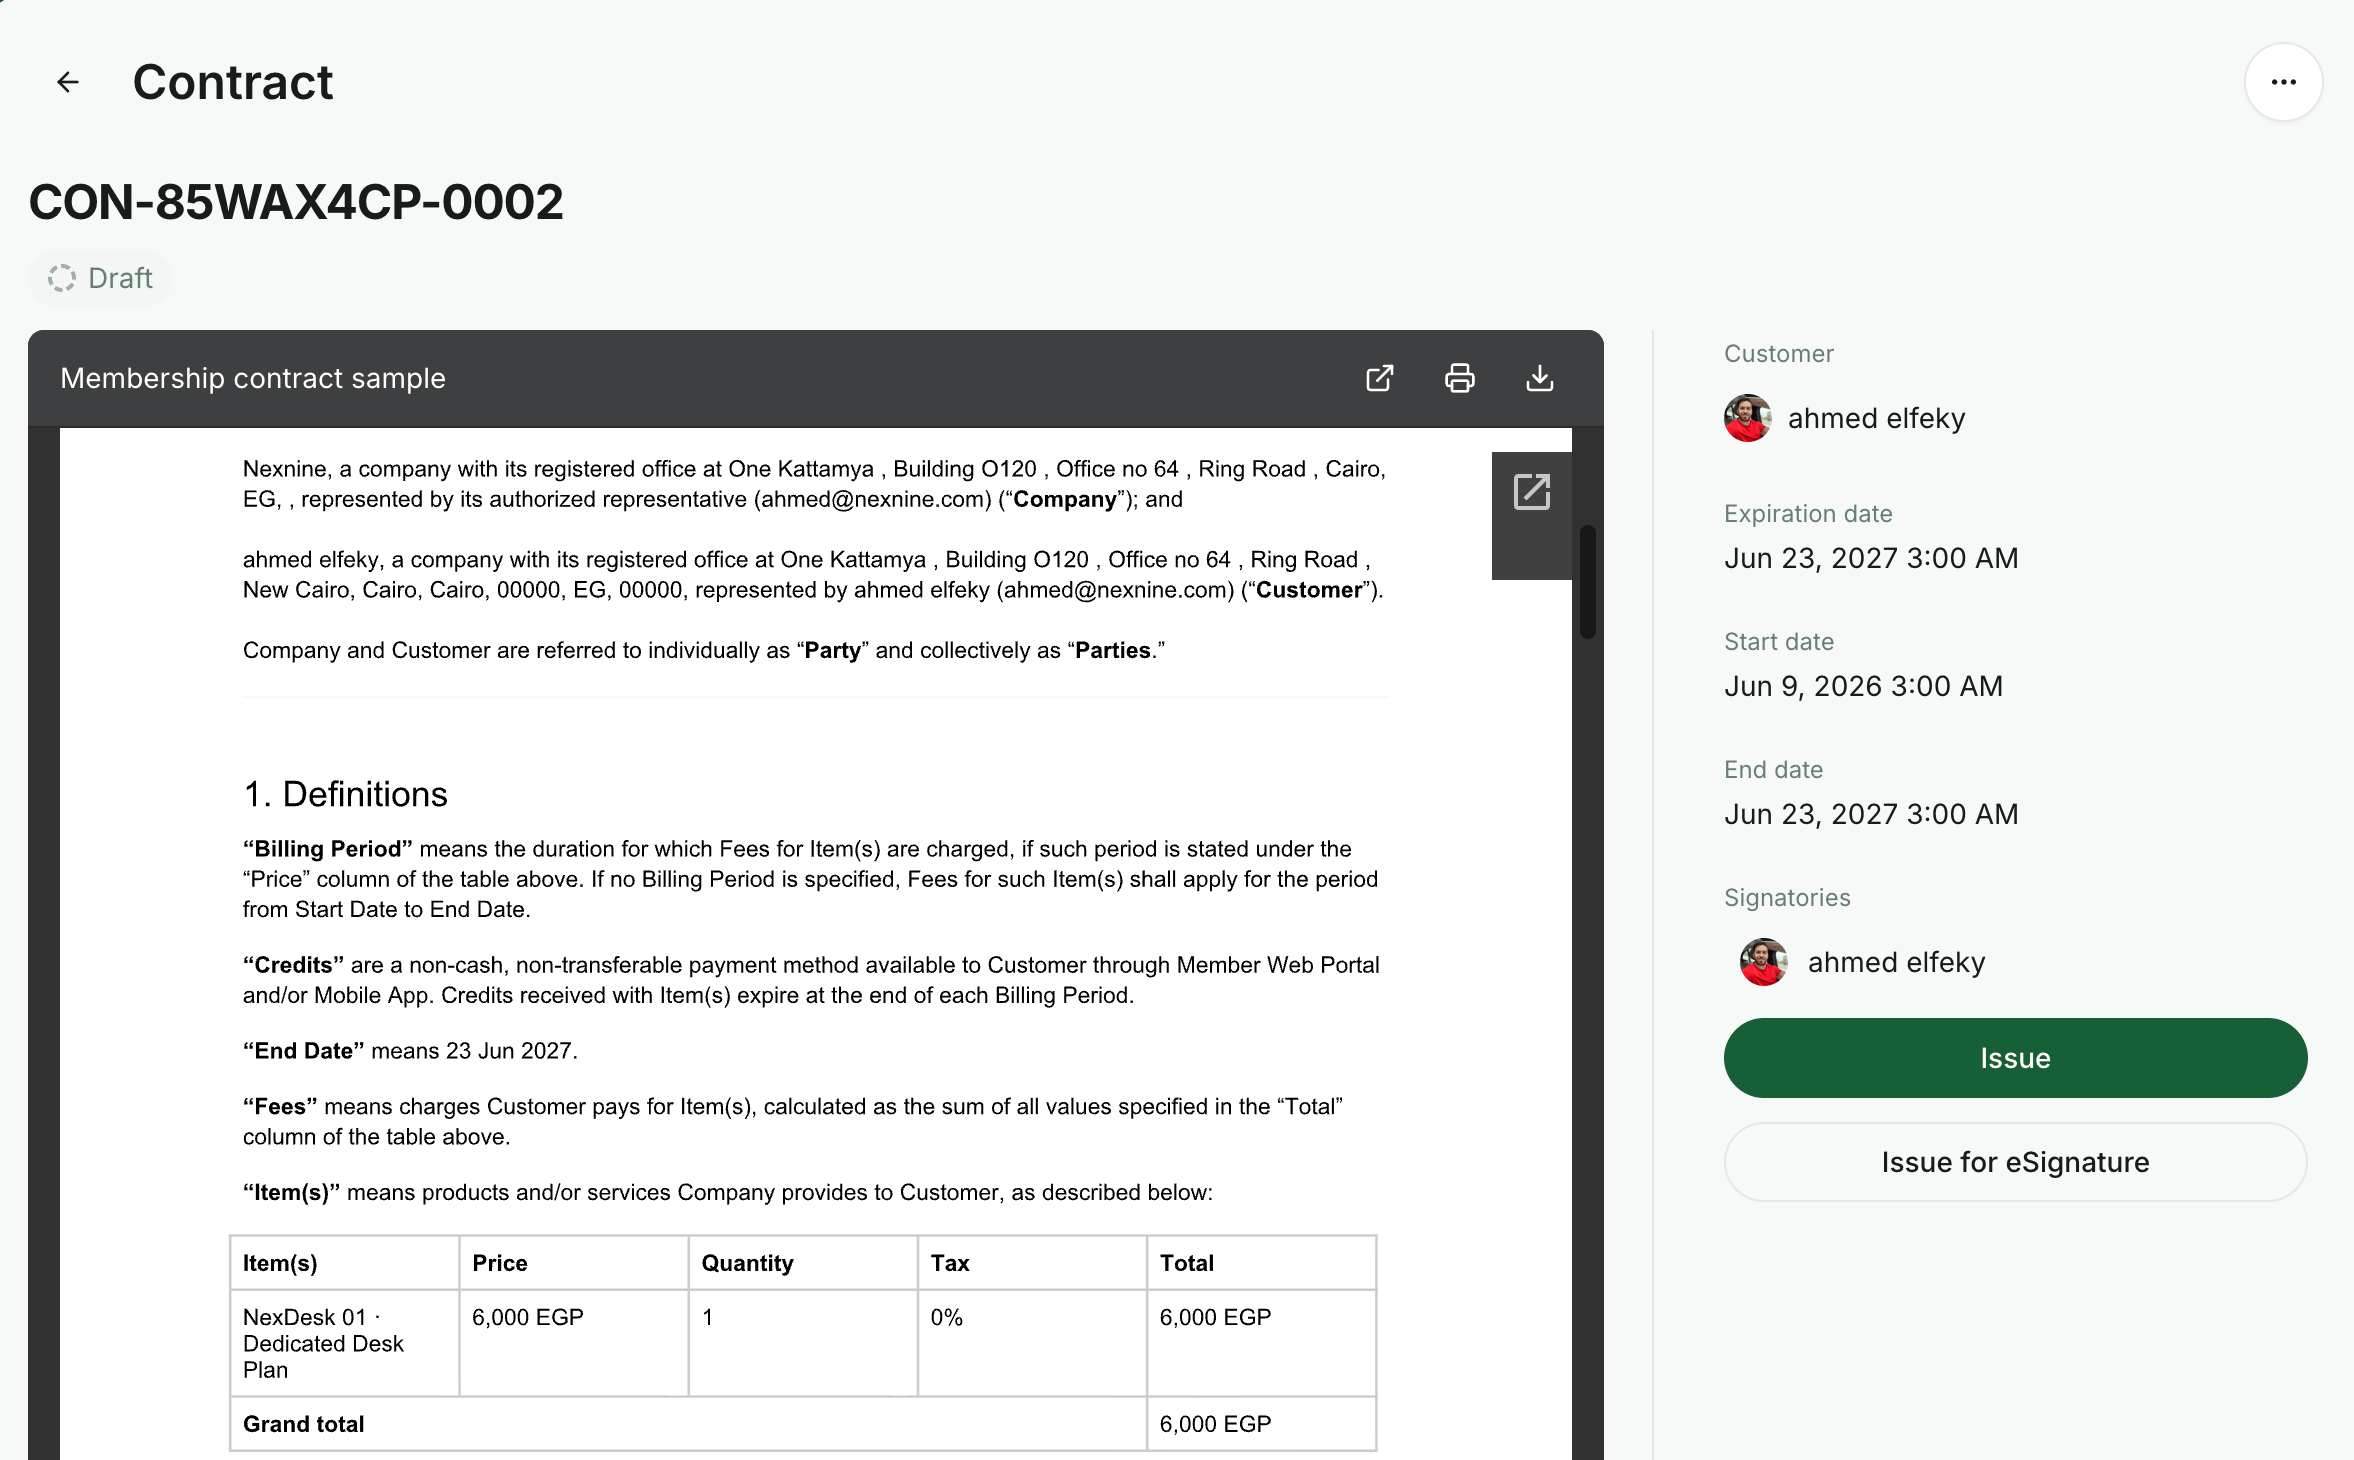 2. With eSignature, the customer receives an email and can sign the contract digitally. Learn how to [issue contracts for eSignature](/docs/admin/billing/contracts/esignature).
3. Without eSignature, share the contract with the customer externally for signature. In this case, the contract is not sent automatically.
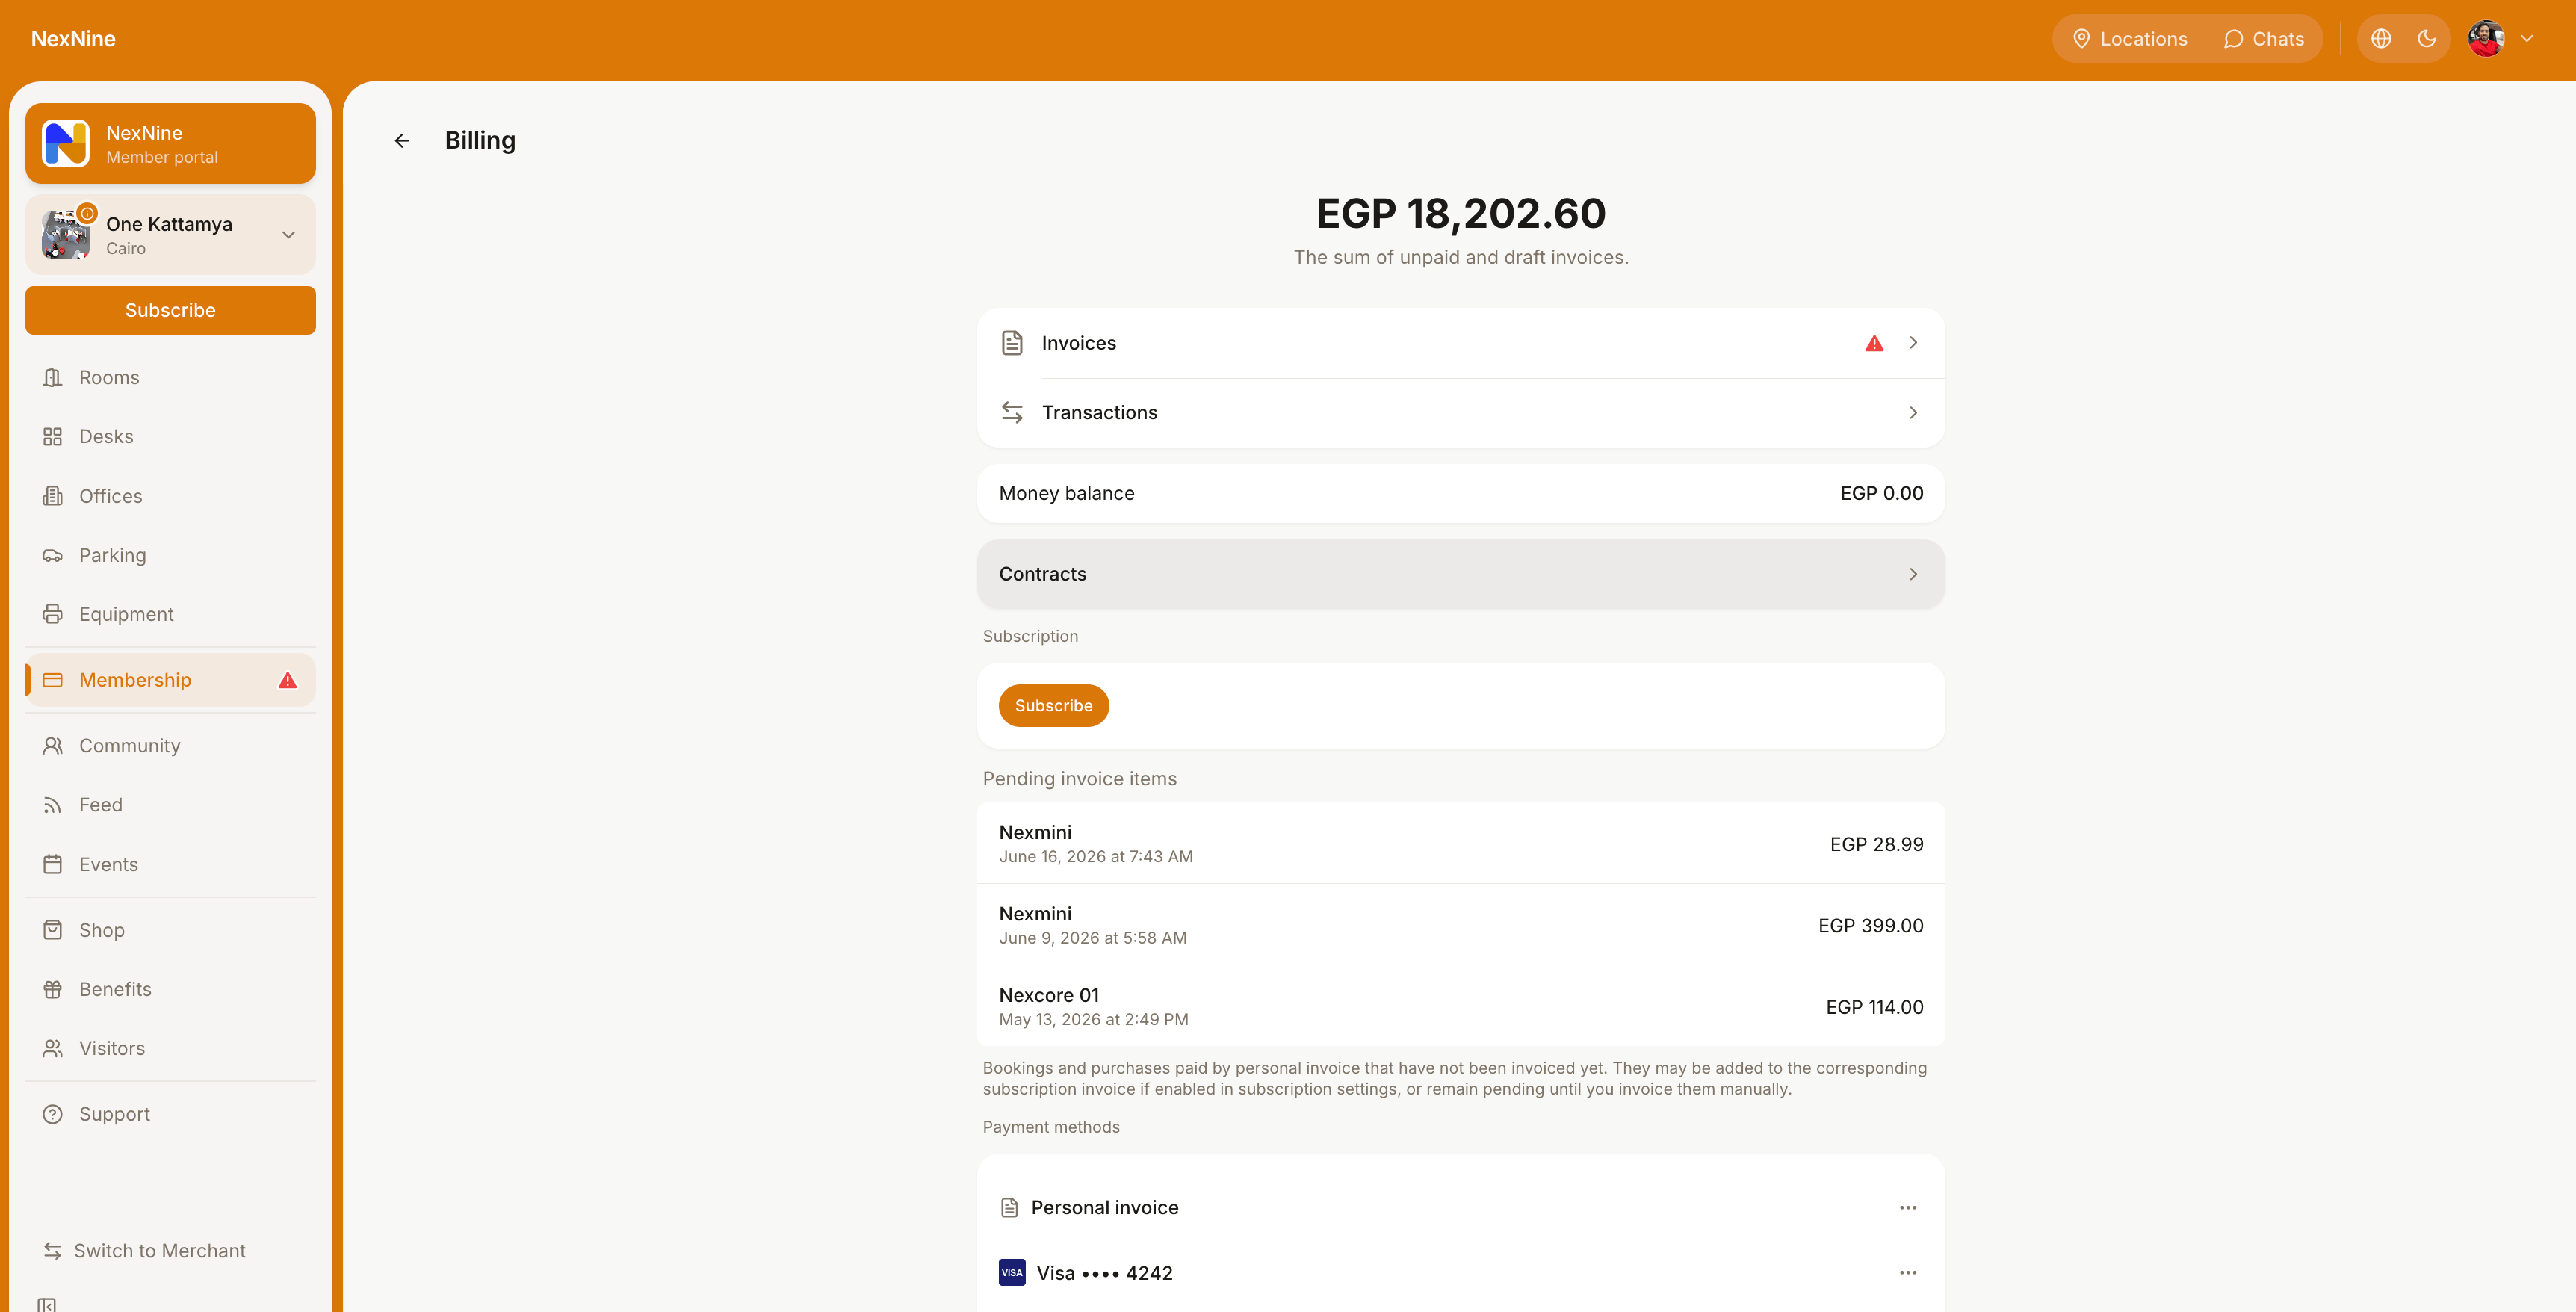
Customers can always view their contracts on the **Membership > Billing > Contracts** page.
2. With eSignature, the customer receives an email and can sign the contract digitally. Learn how to [issue contracts for eSignature](/docs/admin/billing/contracts/esignature).
3. Without eSignature, share the contract with the customer externally for signature. In this case, the contract is not sent automatically.
Customers can always view their contracts on the **Membership > Billing > Contracts** page.
 ## Manage contracts
To view all contracts or find a specific customer contract, administrators:
1. Go to the **Billing > Contracts** page.
2. Use the filters to find a specific contract by status or customer.
You can modify or delete a contract while it is in **Draft** status:
1. Open the contract.
2. Click the **(...)** button in the top-right corner.
3. Select `Edit` to adjust the contract details or `Delete` to remove the draft.
## Manage contracts
To view all contracts or find a specific customer contract, administrators:
1. Go to the **Billing > Contracts** page.
2. Use the filters to find a specific contract by status or customer.
You can modify or delete a contract while it is in **Draft** status:
1. Open the contract.
2. Click the **(...)** button in the top-right corner.
3. Select `Edit` to adjust the contract details or `Delete` to remove the draft.
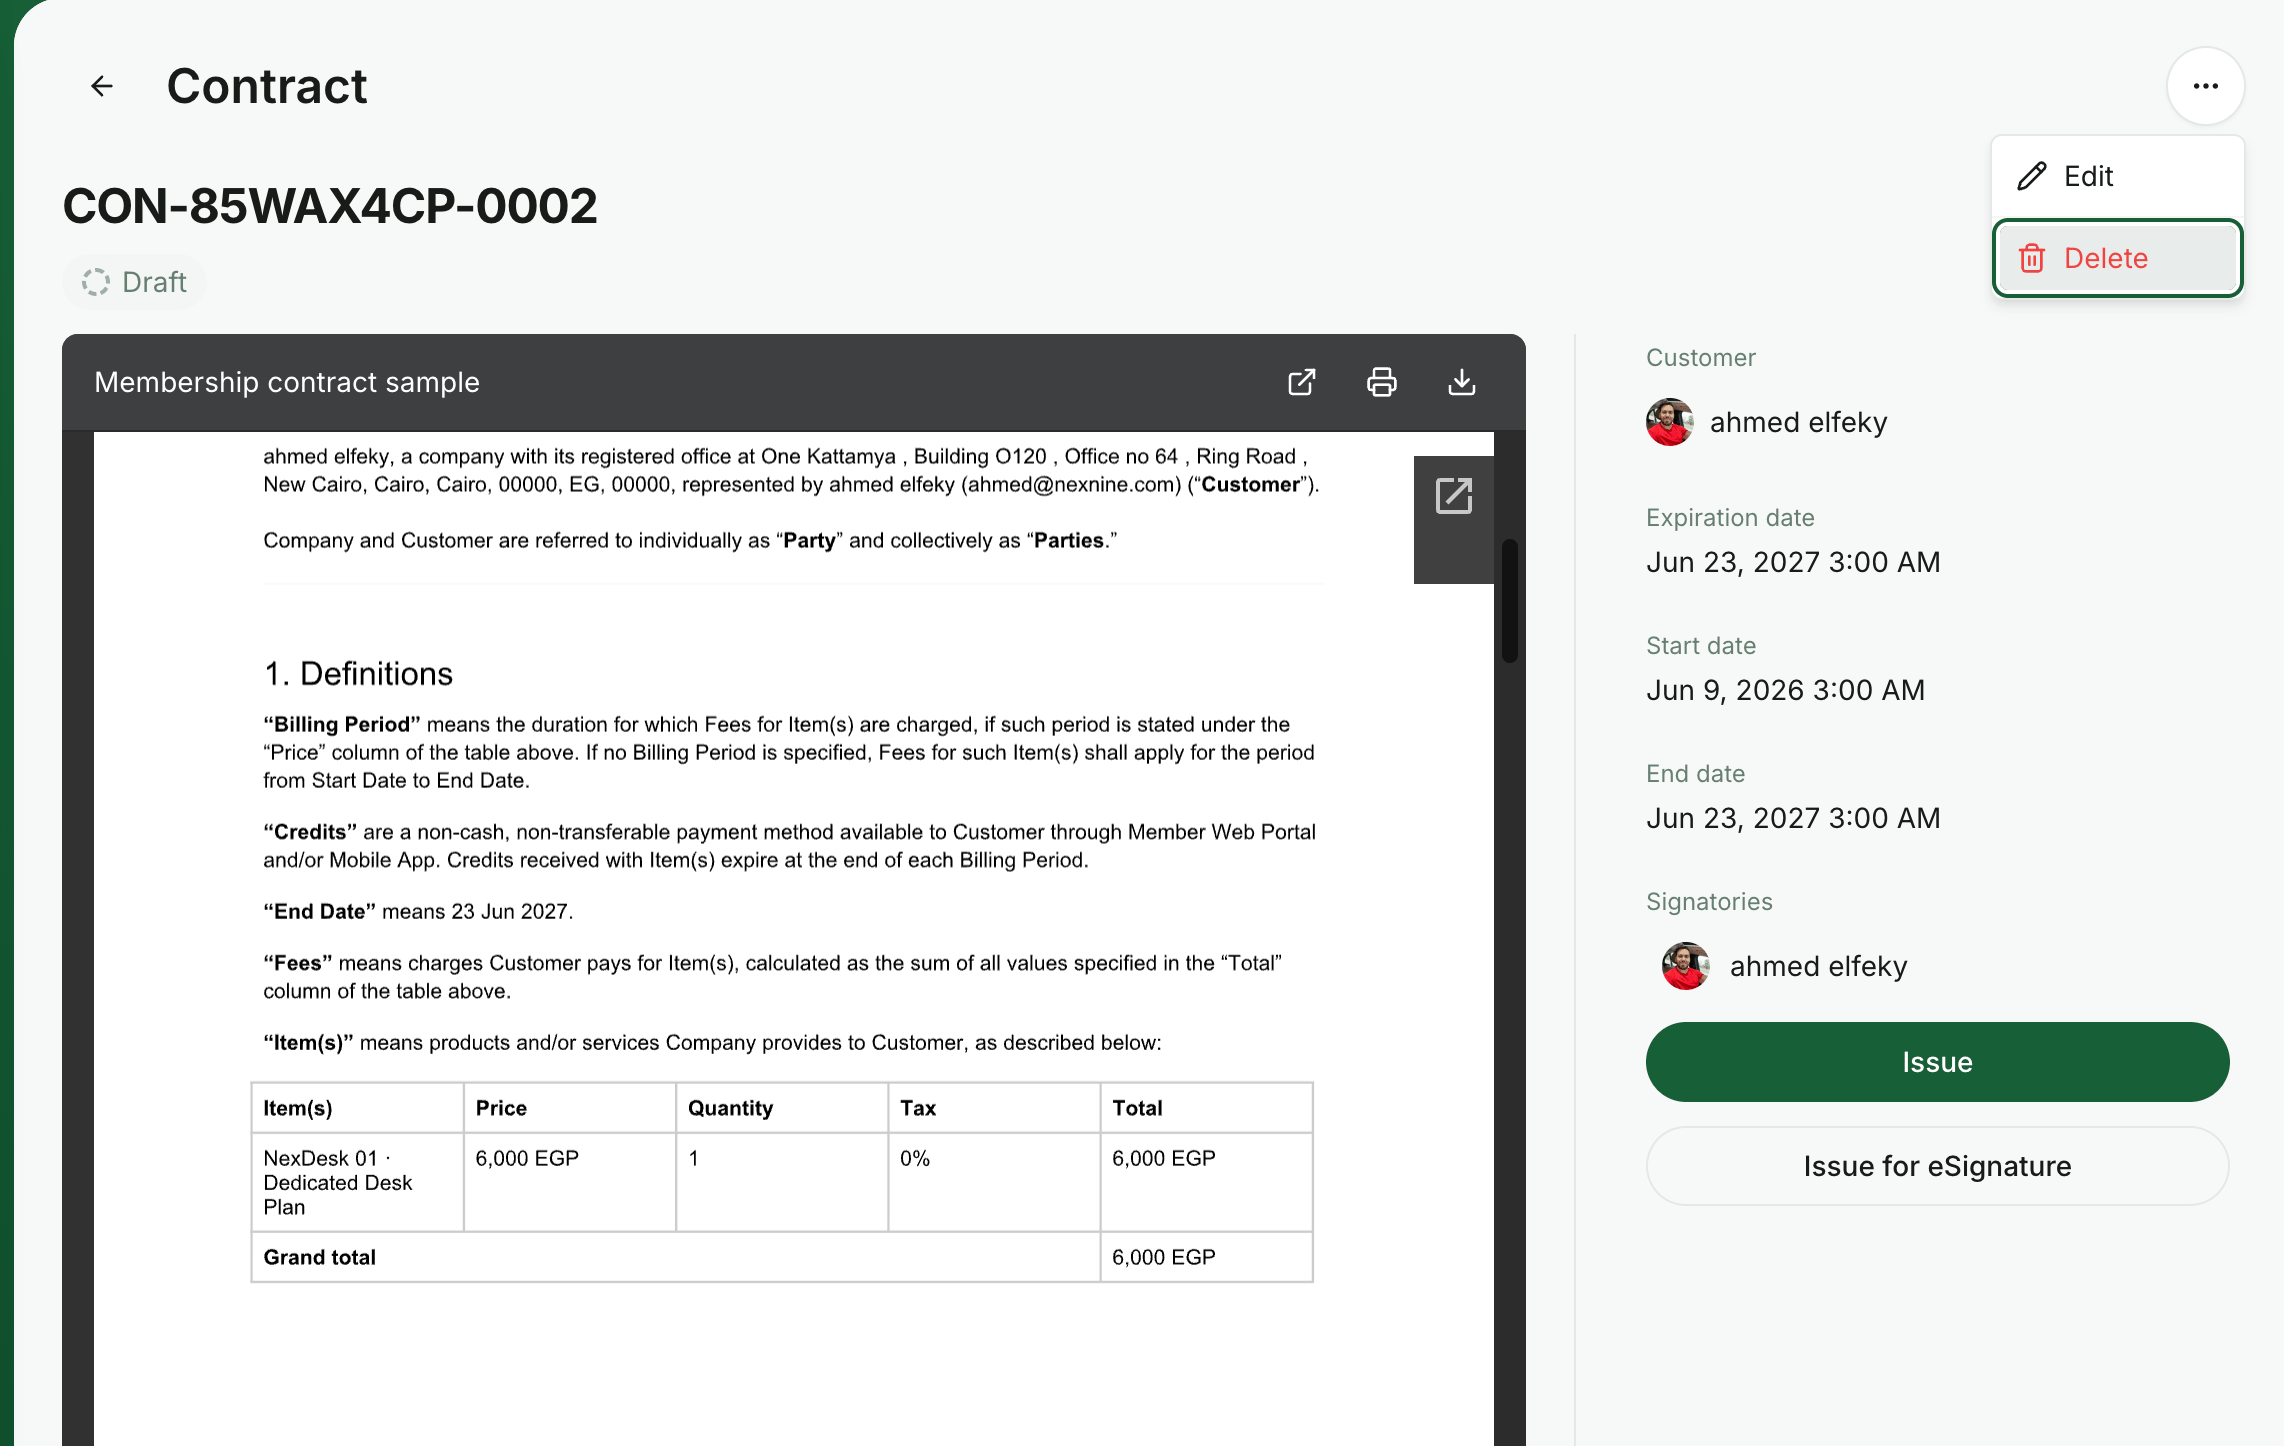 Deleting a contract is irreversible and cannot be undone.
You can also terminate contracts that have already been issued or signed:
1. Open the contract and click the **(...)** button in the top-right corner.
2. Select `Terminate` and choose the termination reason.
Deleting a contract is irreversible and cannot be undone.
You can also terminate contracts that have already been issued or signed:
1. Open the contract and click the **(...)** button in the top-right corner.
2. Select `Terminate` and choose the termination reason.
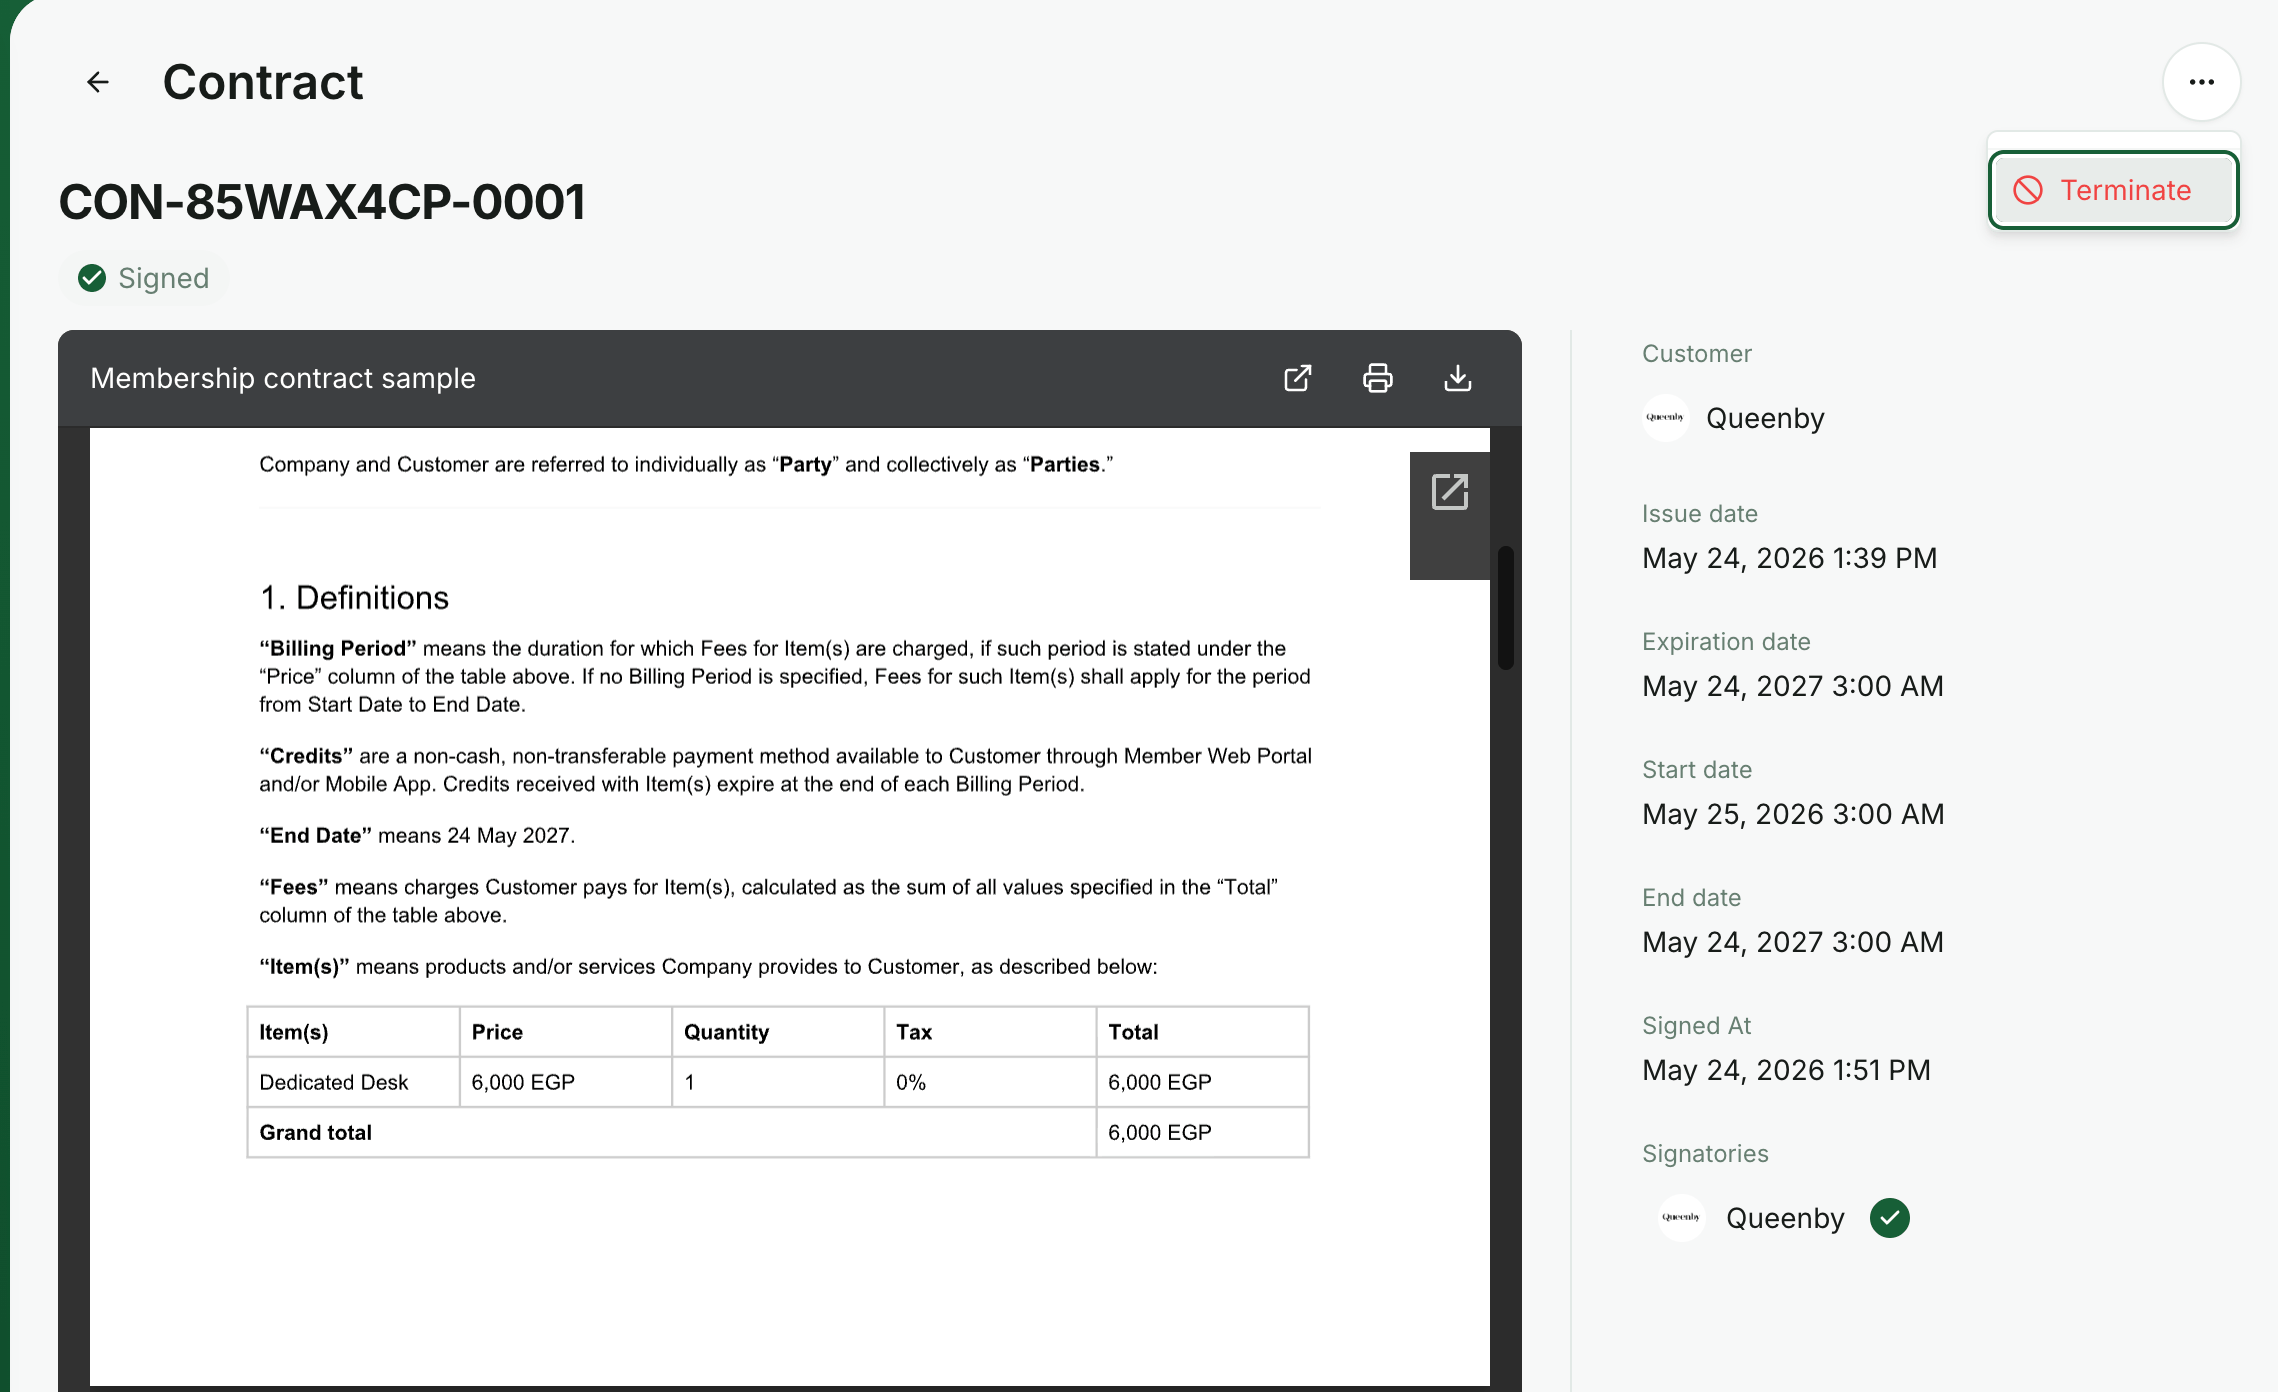 Upon termination, a confirmation email containing the reason will be sent to the customer.
To track contract analytics, go to the **Analytics > Contracts** page.
Upon termination, a confirmation email containing the reason will be sent to the customer.
To track contract analytics, go to the **Analytics > Contracts** page.